

App Store - Configuring In-App Purchases
This section provides details on how to configure In-App Purchases in the App Store with the App Store Connect Console
In this page, In-App Purchases refer to One Time Purchases (as opposed to In-App Subscriptions which involve recurring payments).
In-App Purchases let you offer additional features in your apps including digital goods, and premium content.
Different types of In-App Purchases are:
- Consumables: this type of In-App Purchases can be purchased several times by a same user
Can be used to model virtual currencies (e.g. a stack of coins) or a movie rental - Non consumables: this type of In-App Purchases can be purchased only once by a same user. They keep it their entire life.
Can be used to model the purchase of a movie or a race track in a video game
Creating Consumables and Non Consumables
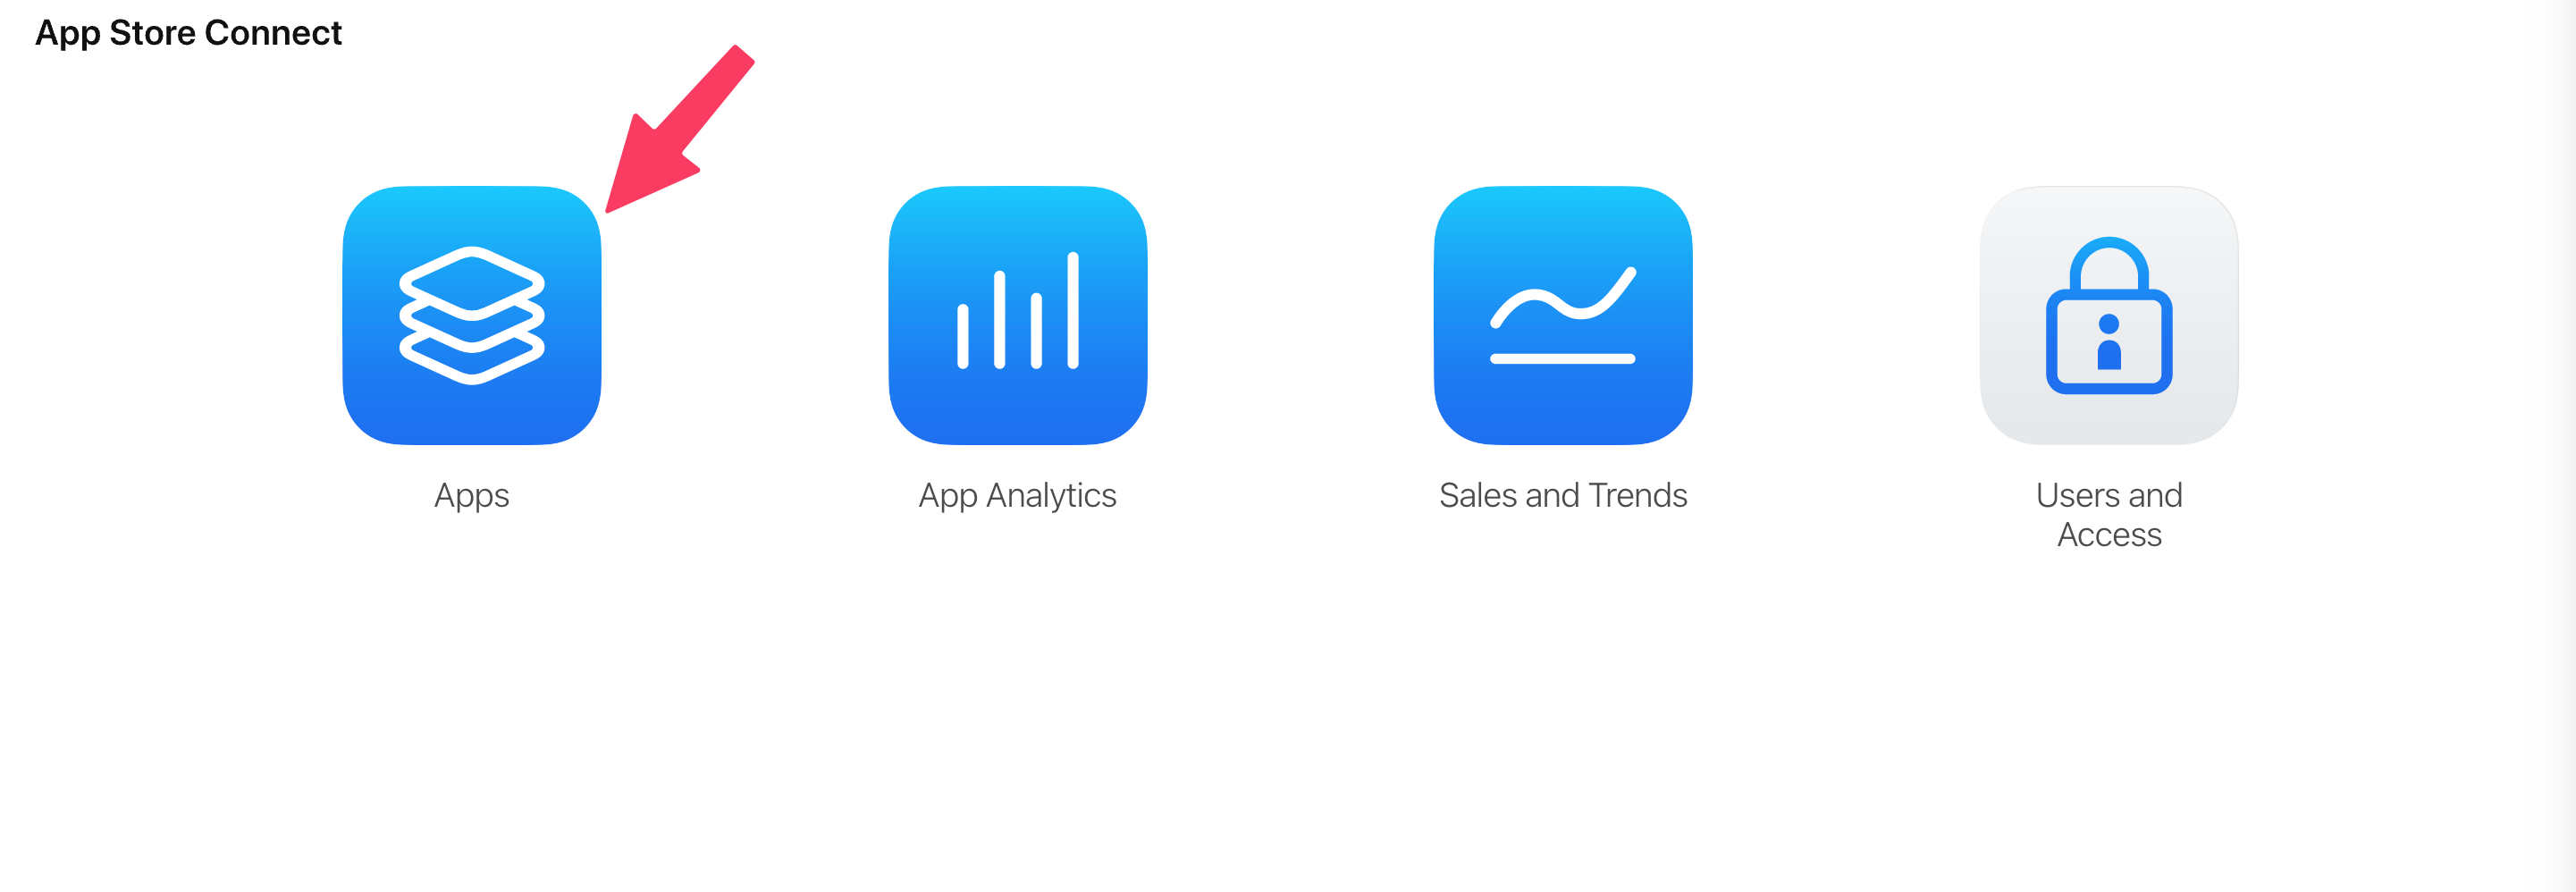
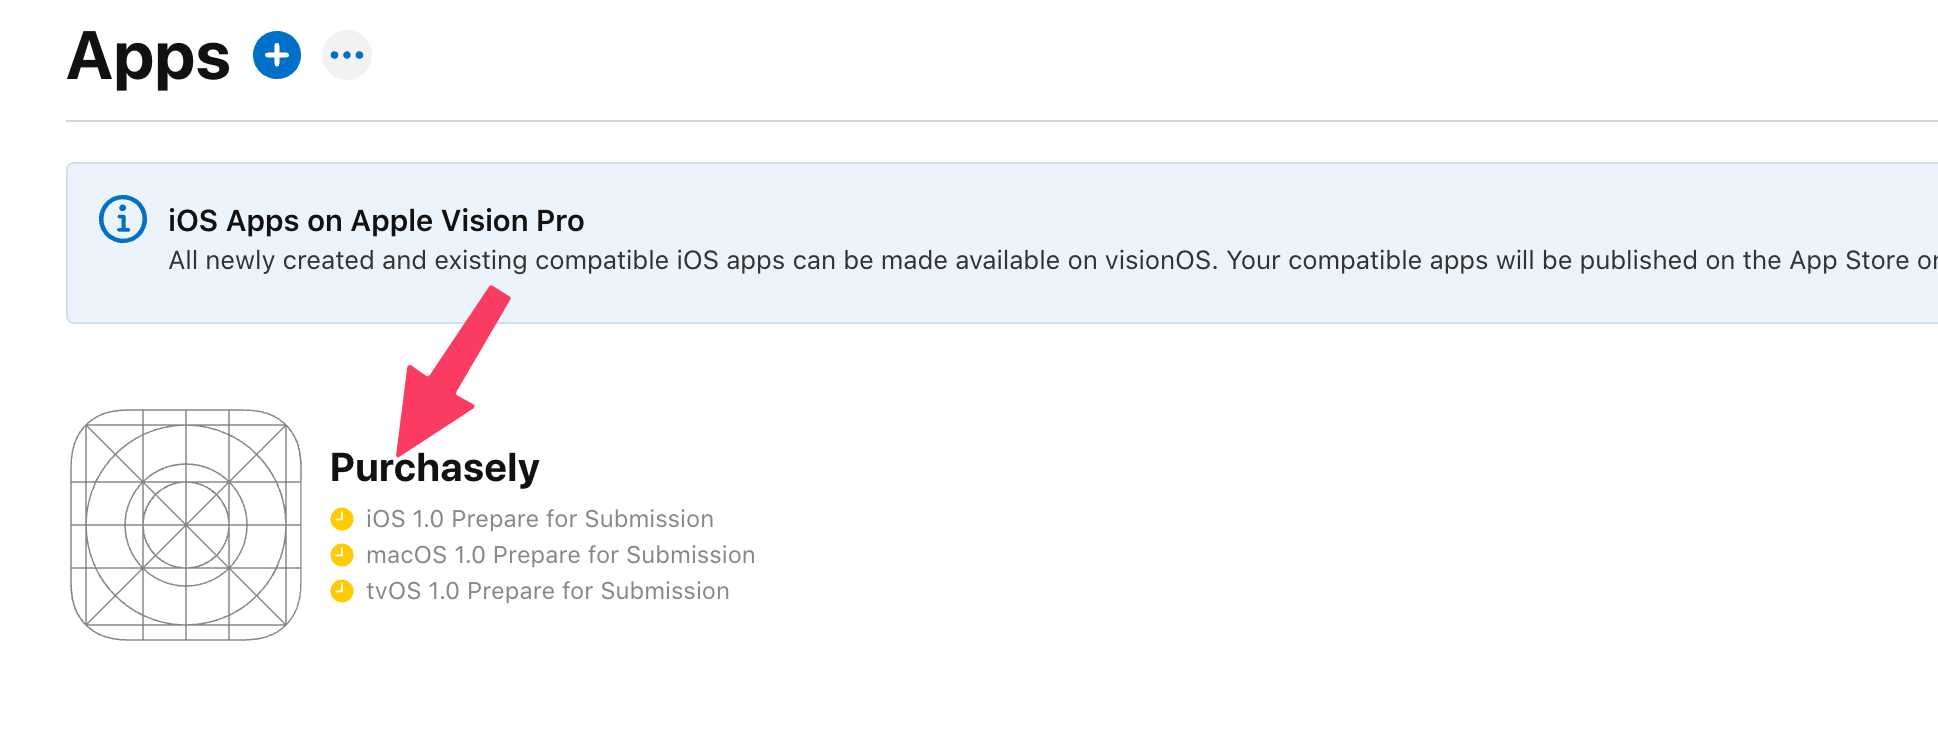
Go to App Store Connect's 'Apps' page
and select the name of your app from the list.
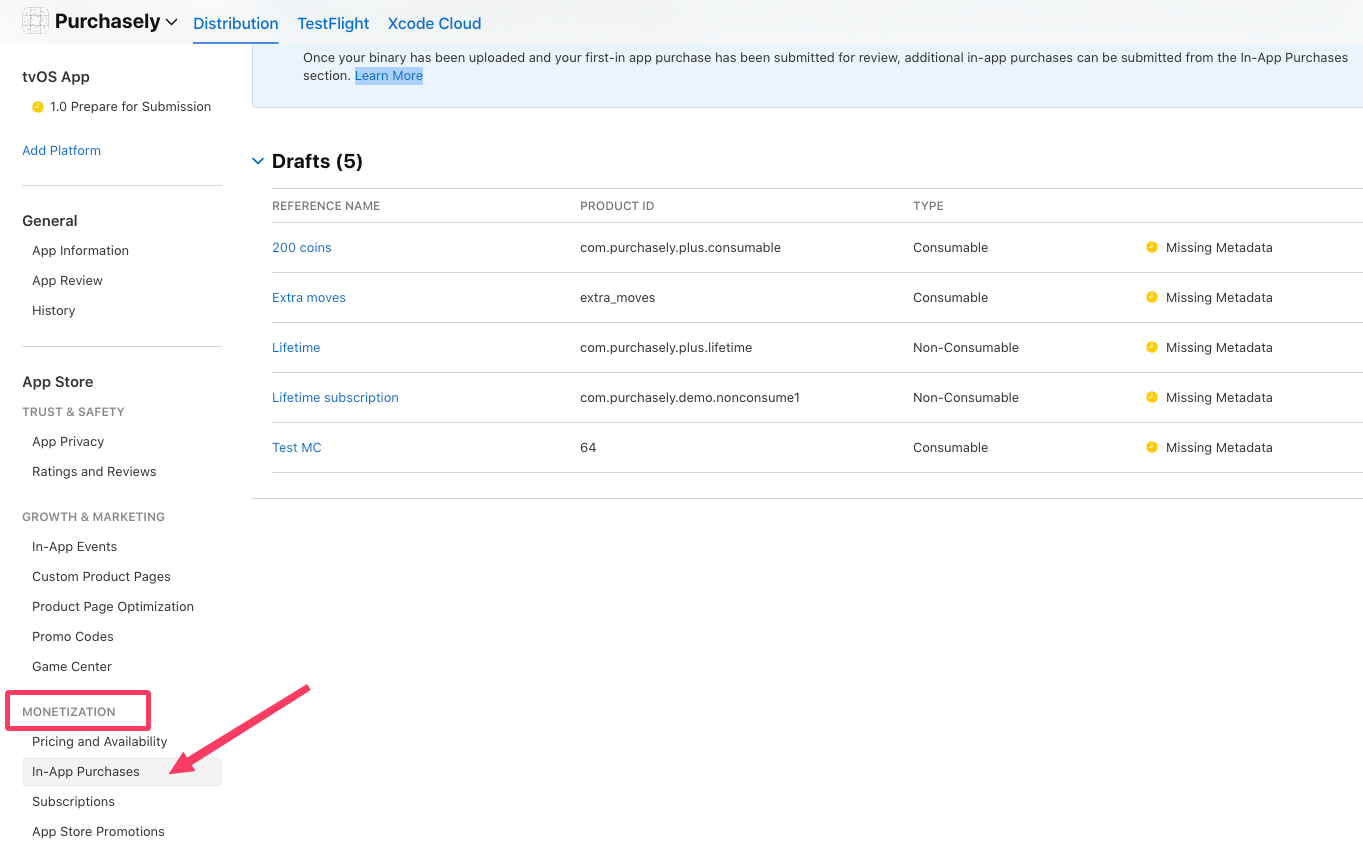
In the sidebar, select 'In App Purchases' under Monetization,
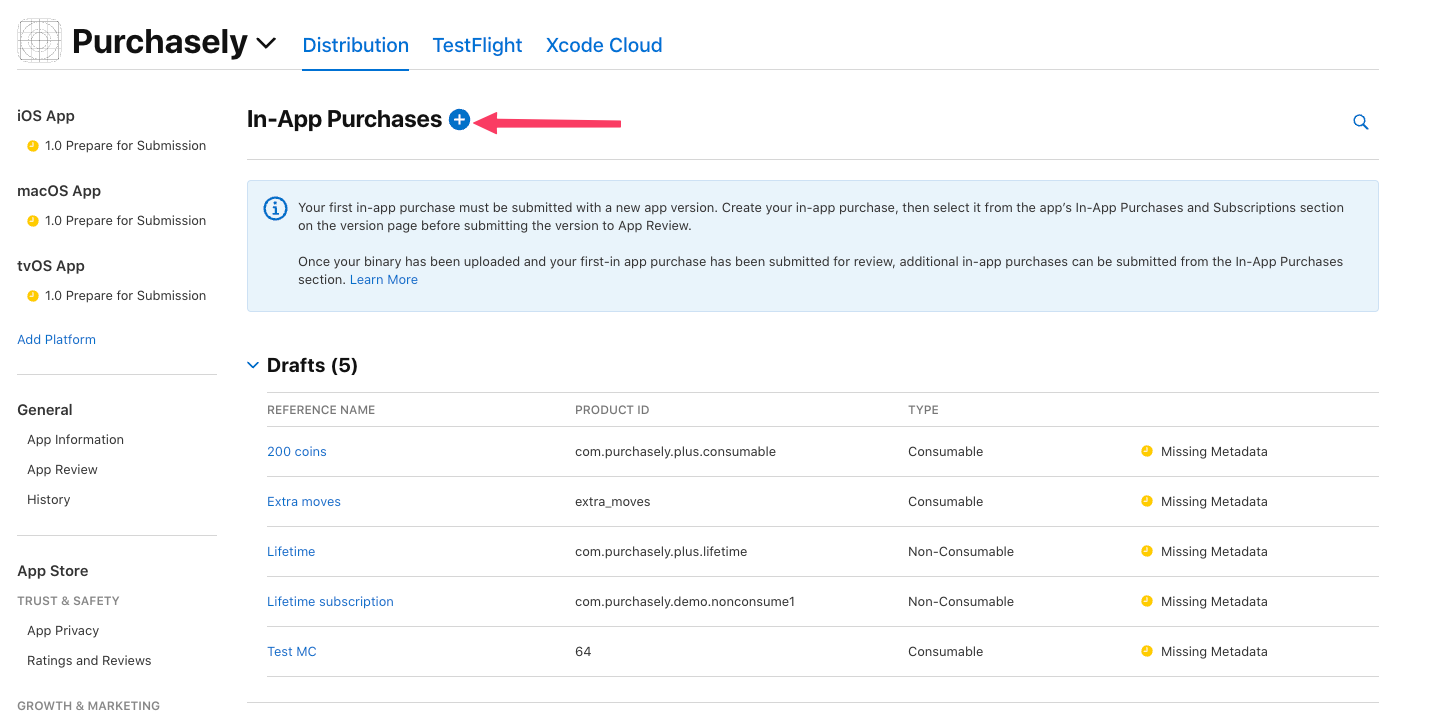
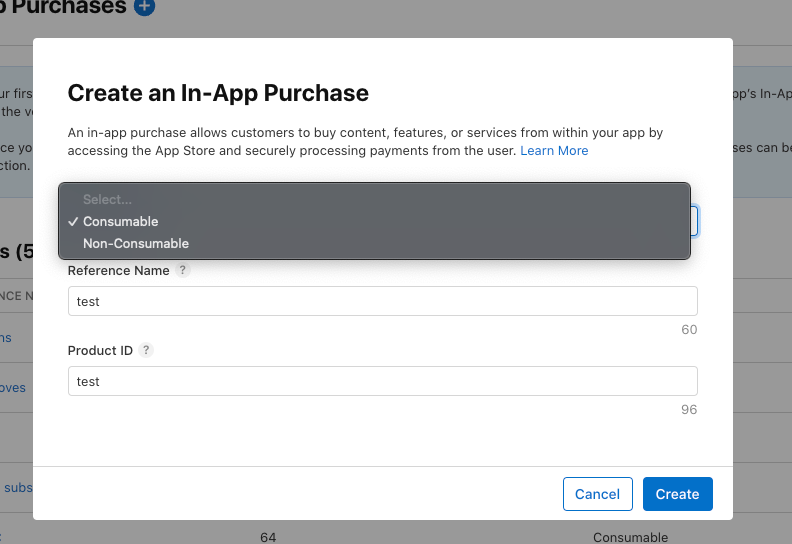
Click on the "+" button,
Choose the
Type of the In-App Purchase: Consumable / Non ConsumableReference Name: The reference name will be used on App Store Connect and in Sales and Trends reports. It won't be displayed on the App Store. The name can't be longer than 64 characters.Product ID: A unique alphanumeric ID that is used for reporting. After you use aProduct IDfor one product, it can’t be used again, even if the product is deleted. ThisProduct IDwill have to be mapped with the corresponding Plan in the Purchasely Console.
For this demo, we are choosing Consumable
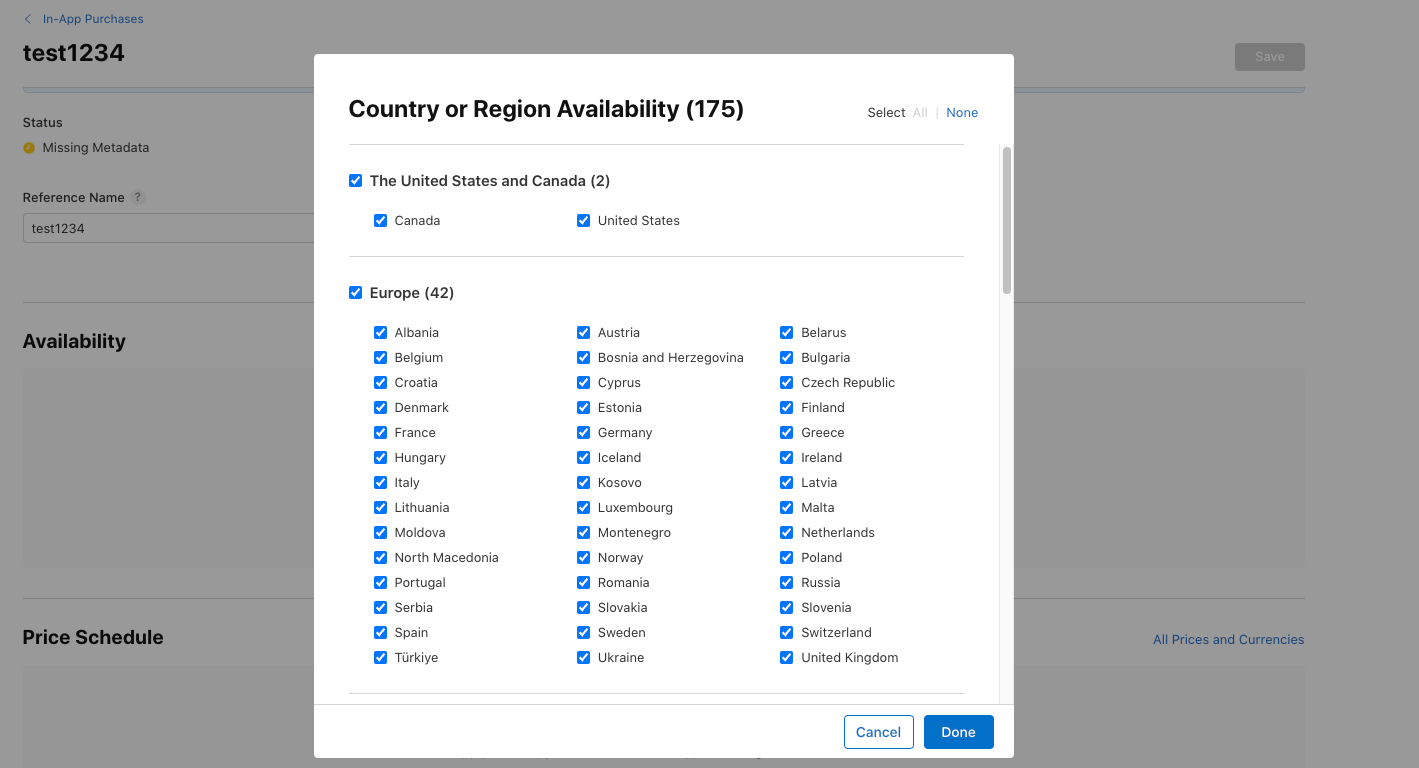
Choose the countries you want to see this product,
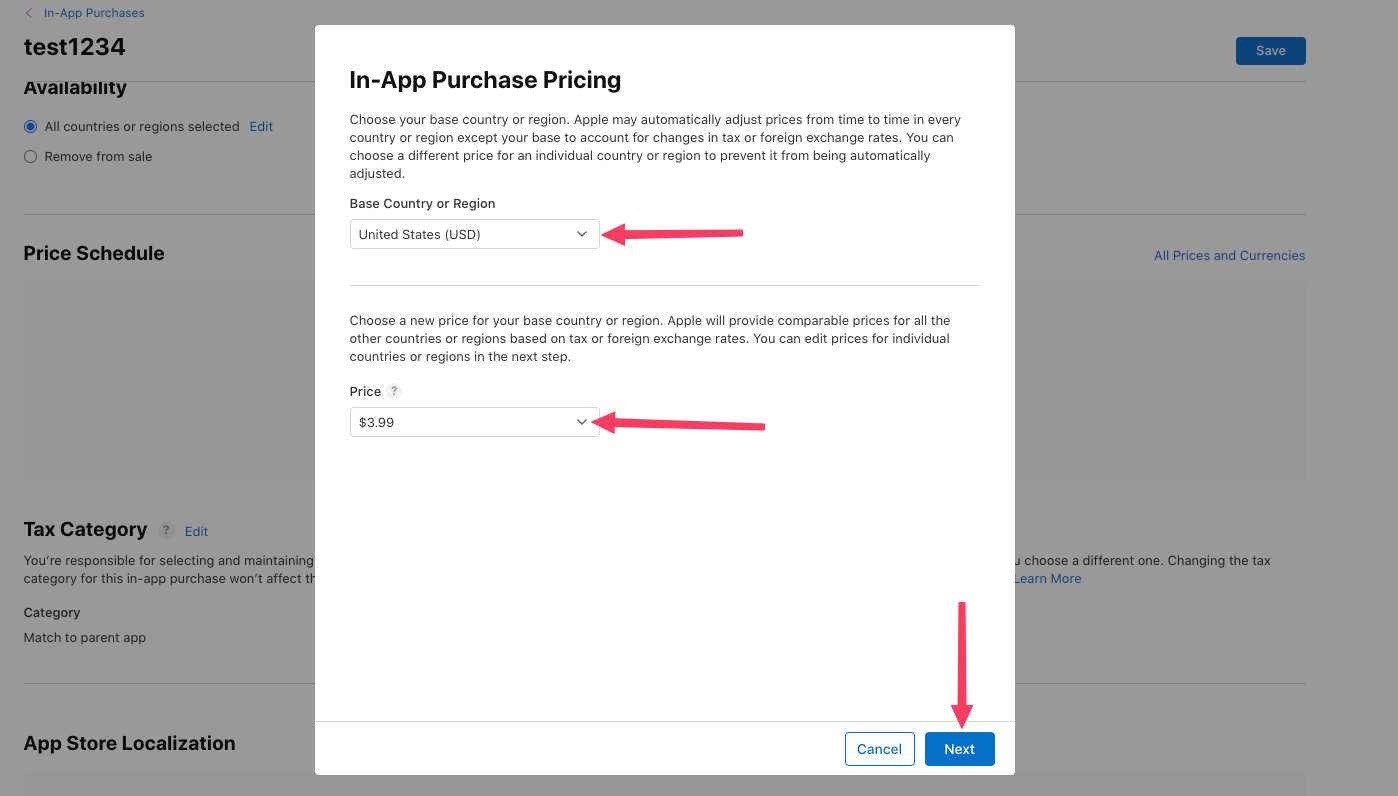
Set the price and click Next
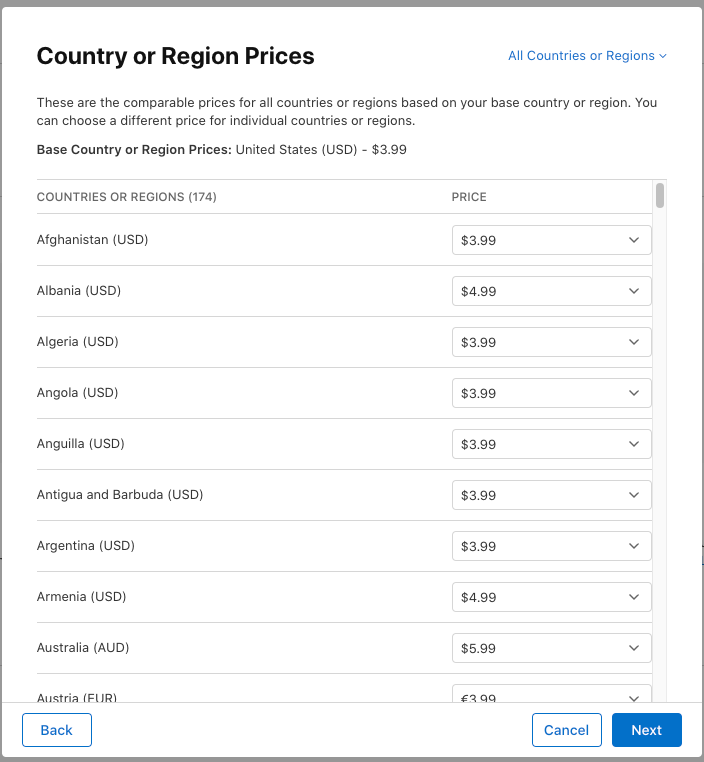
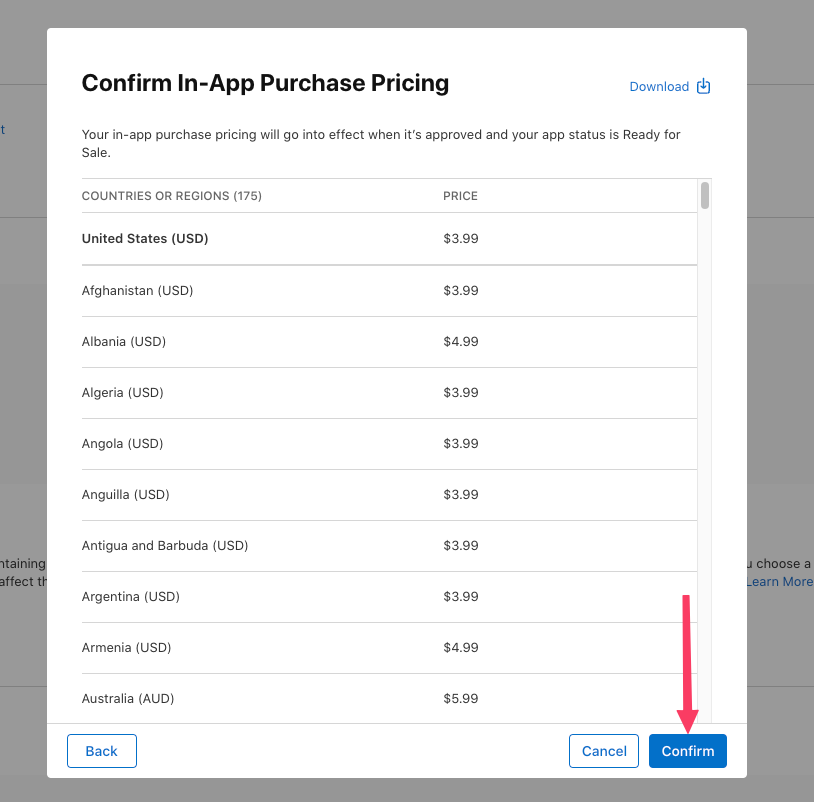
In the next screen, you can modify the price for specific country of region
The following screen will show the summary of the plan, price and region. If it looks fine, you can click Confirm
Adding Localization
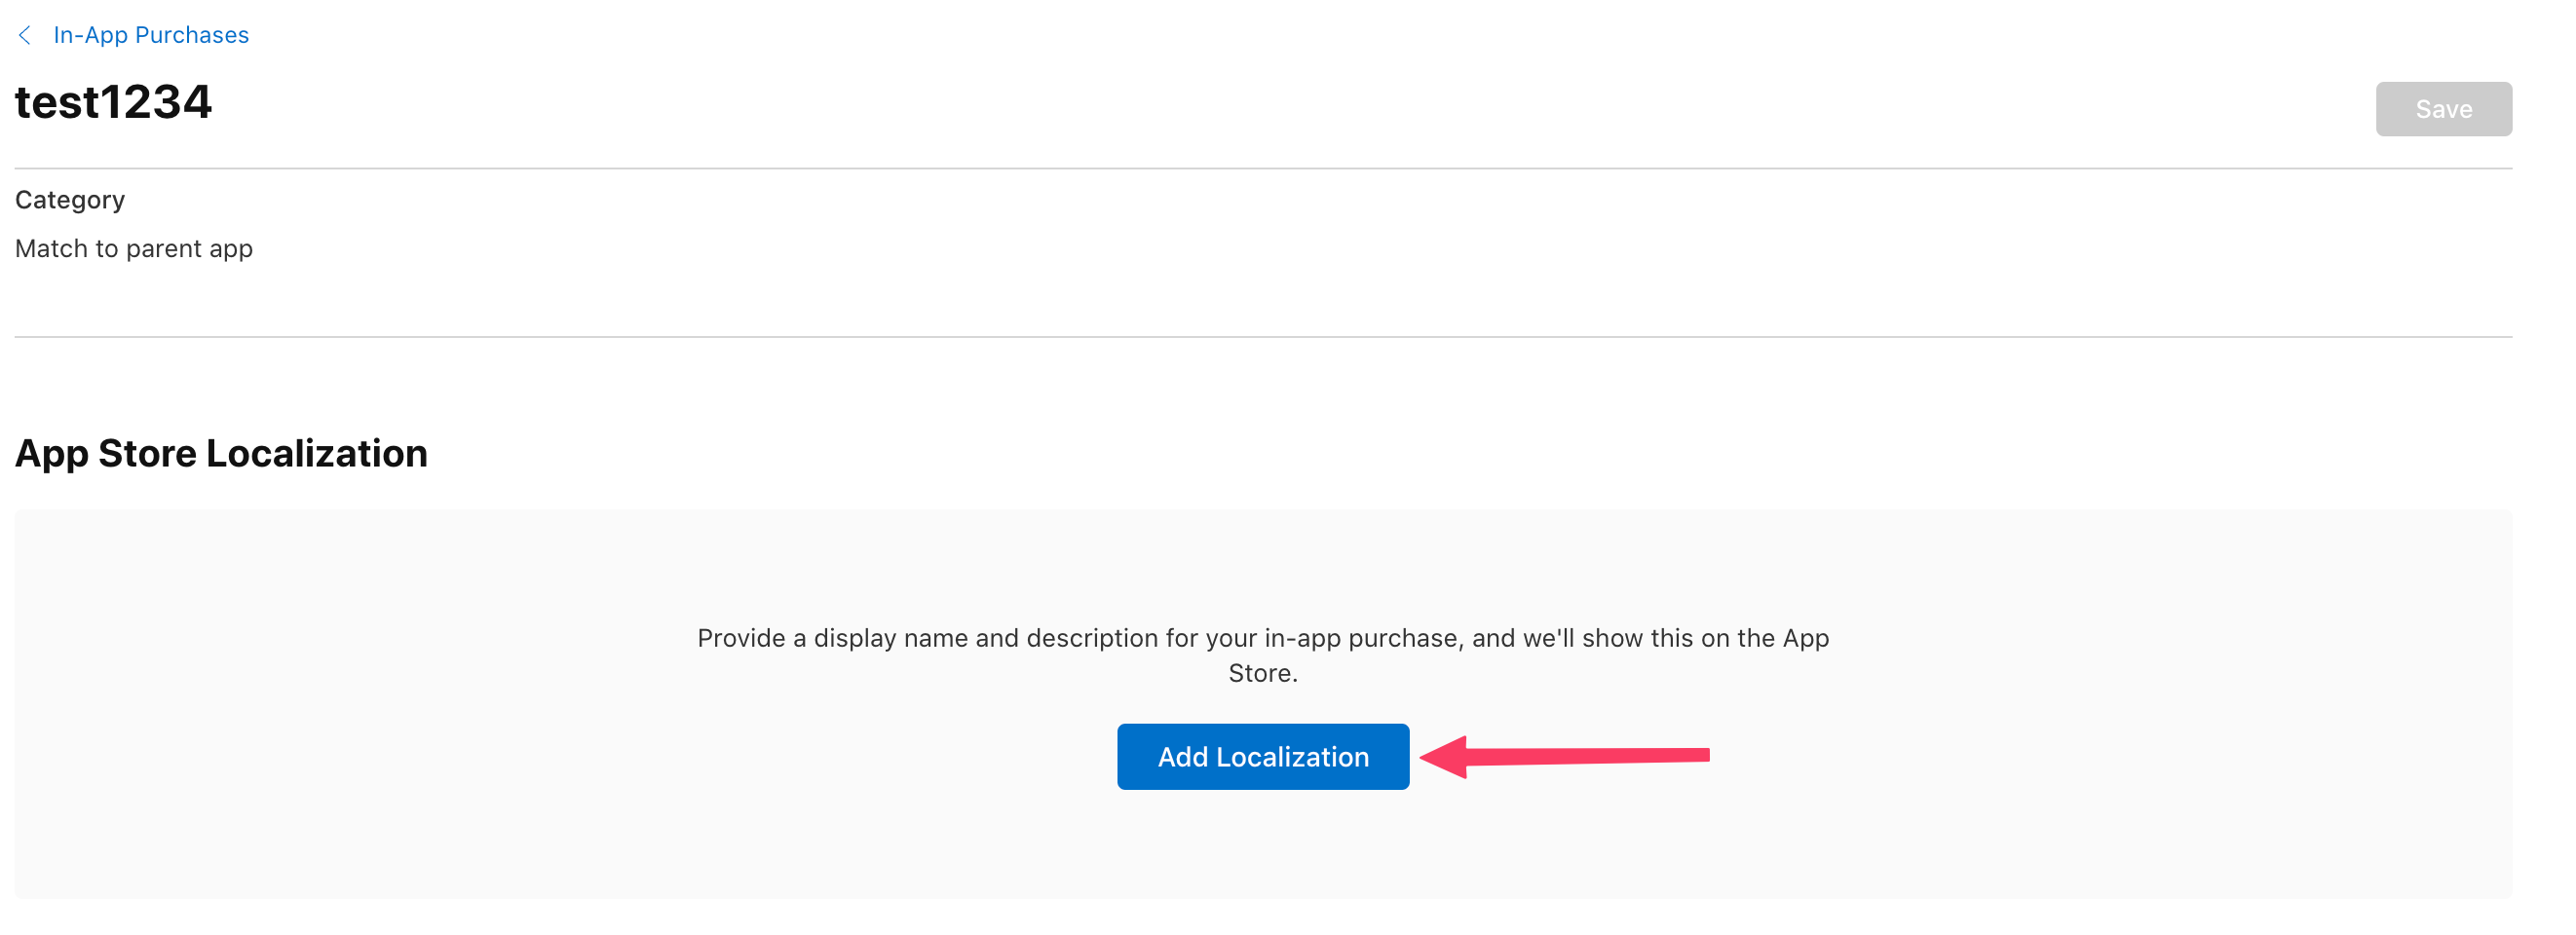
The next step is to set up localization information of the plan created above. This is the name and description of the In-App Purchase that the user will see.
In the App Store Information section, click the Add localization button.
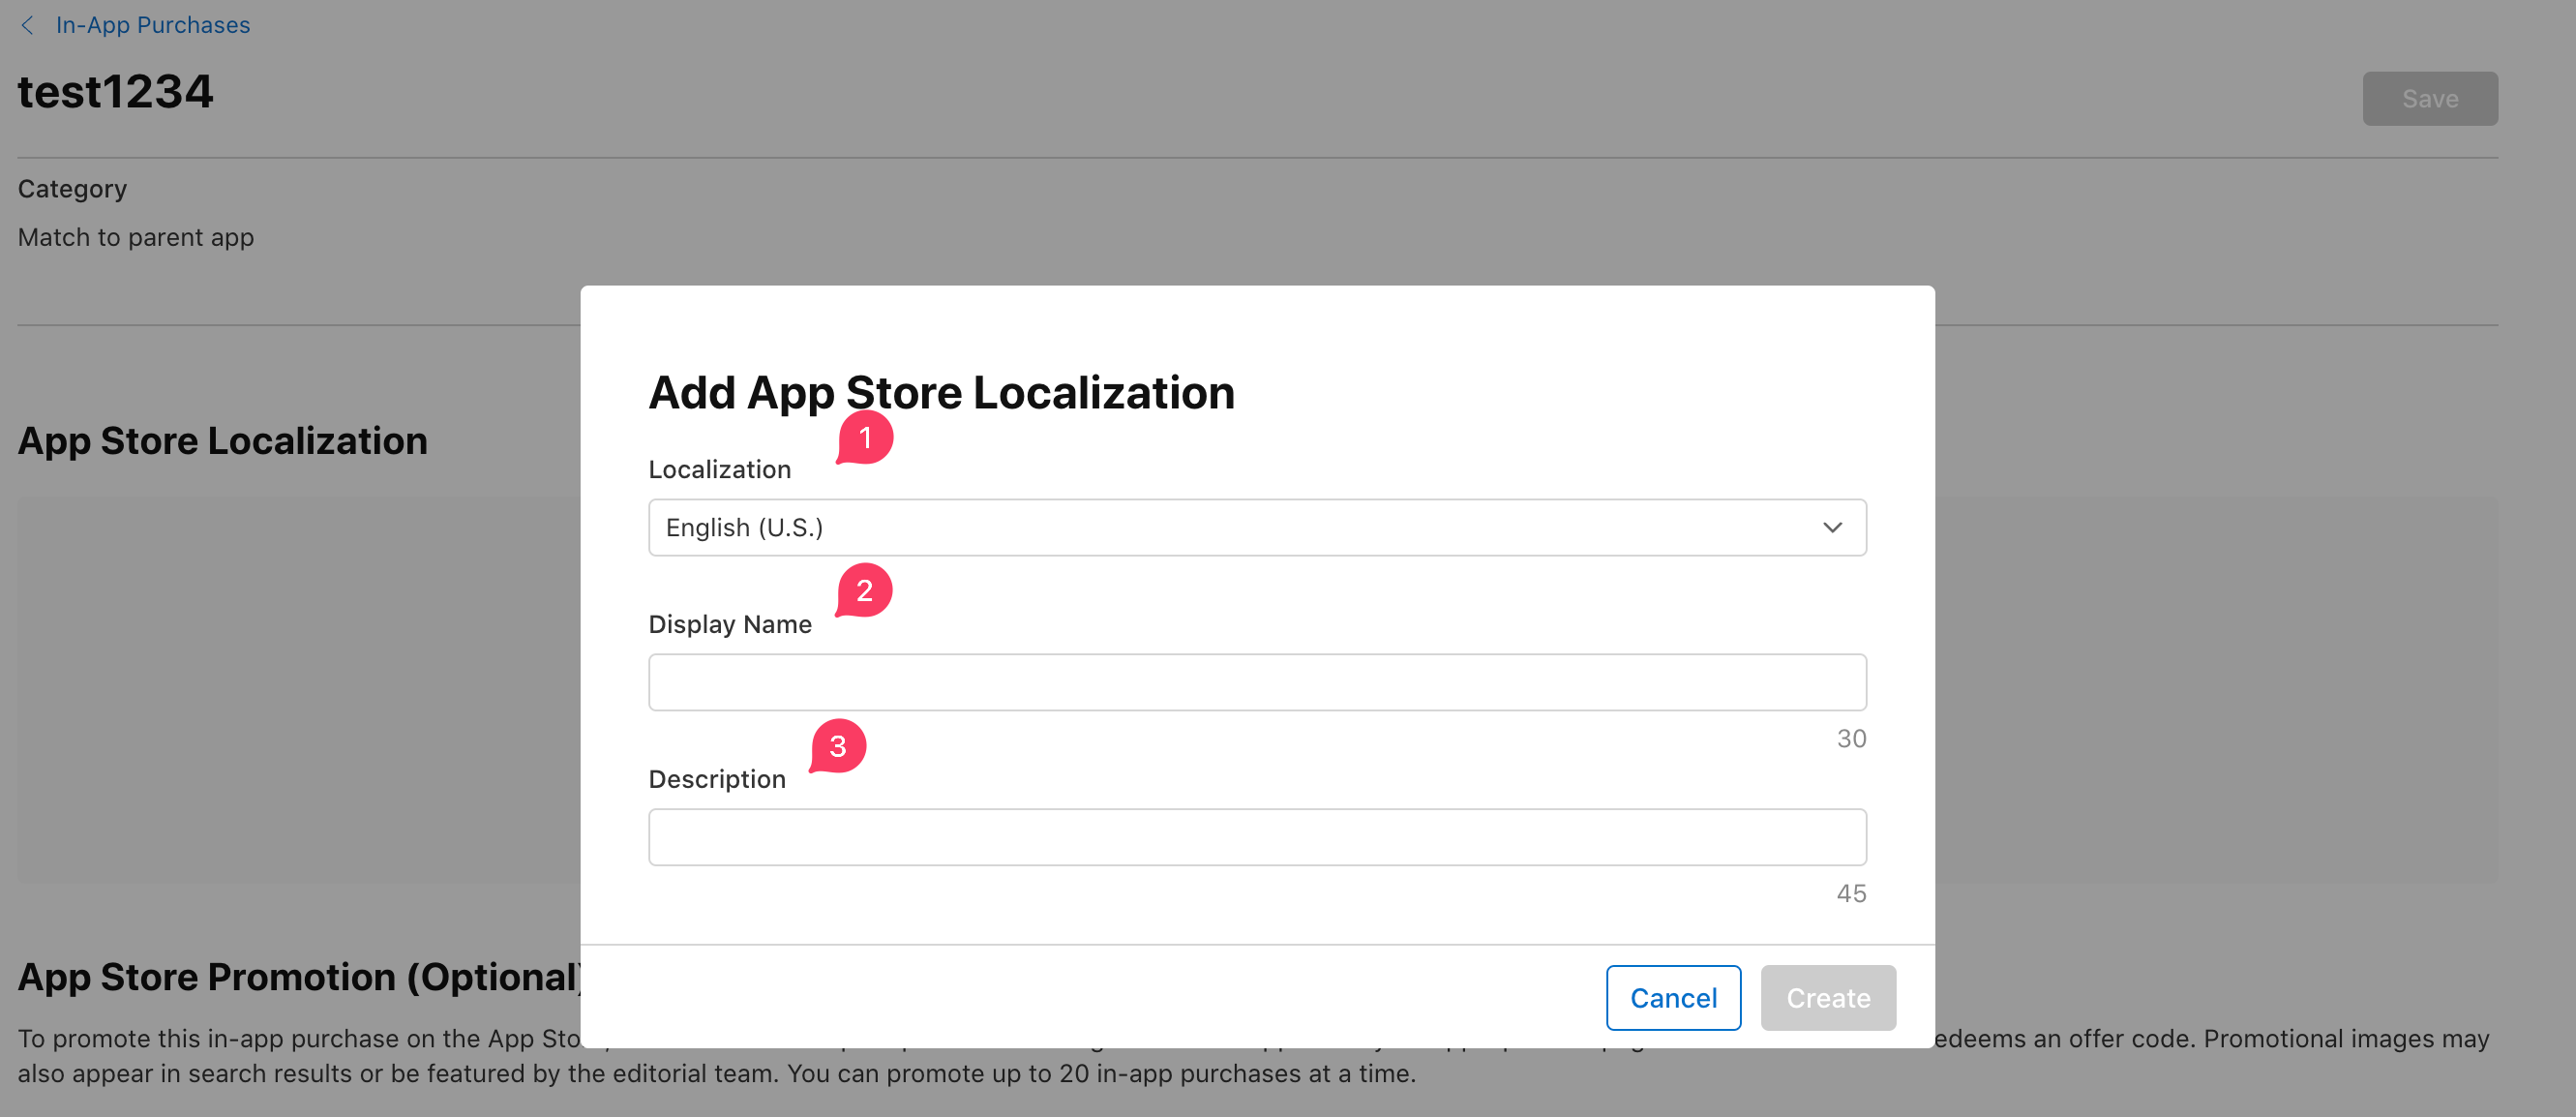
Choose the language, display name and add a description and click add once done.
The In-App Purchase Display Name and Description will be visible to the user on the App Store and in their subscription management settings.
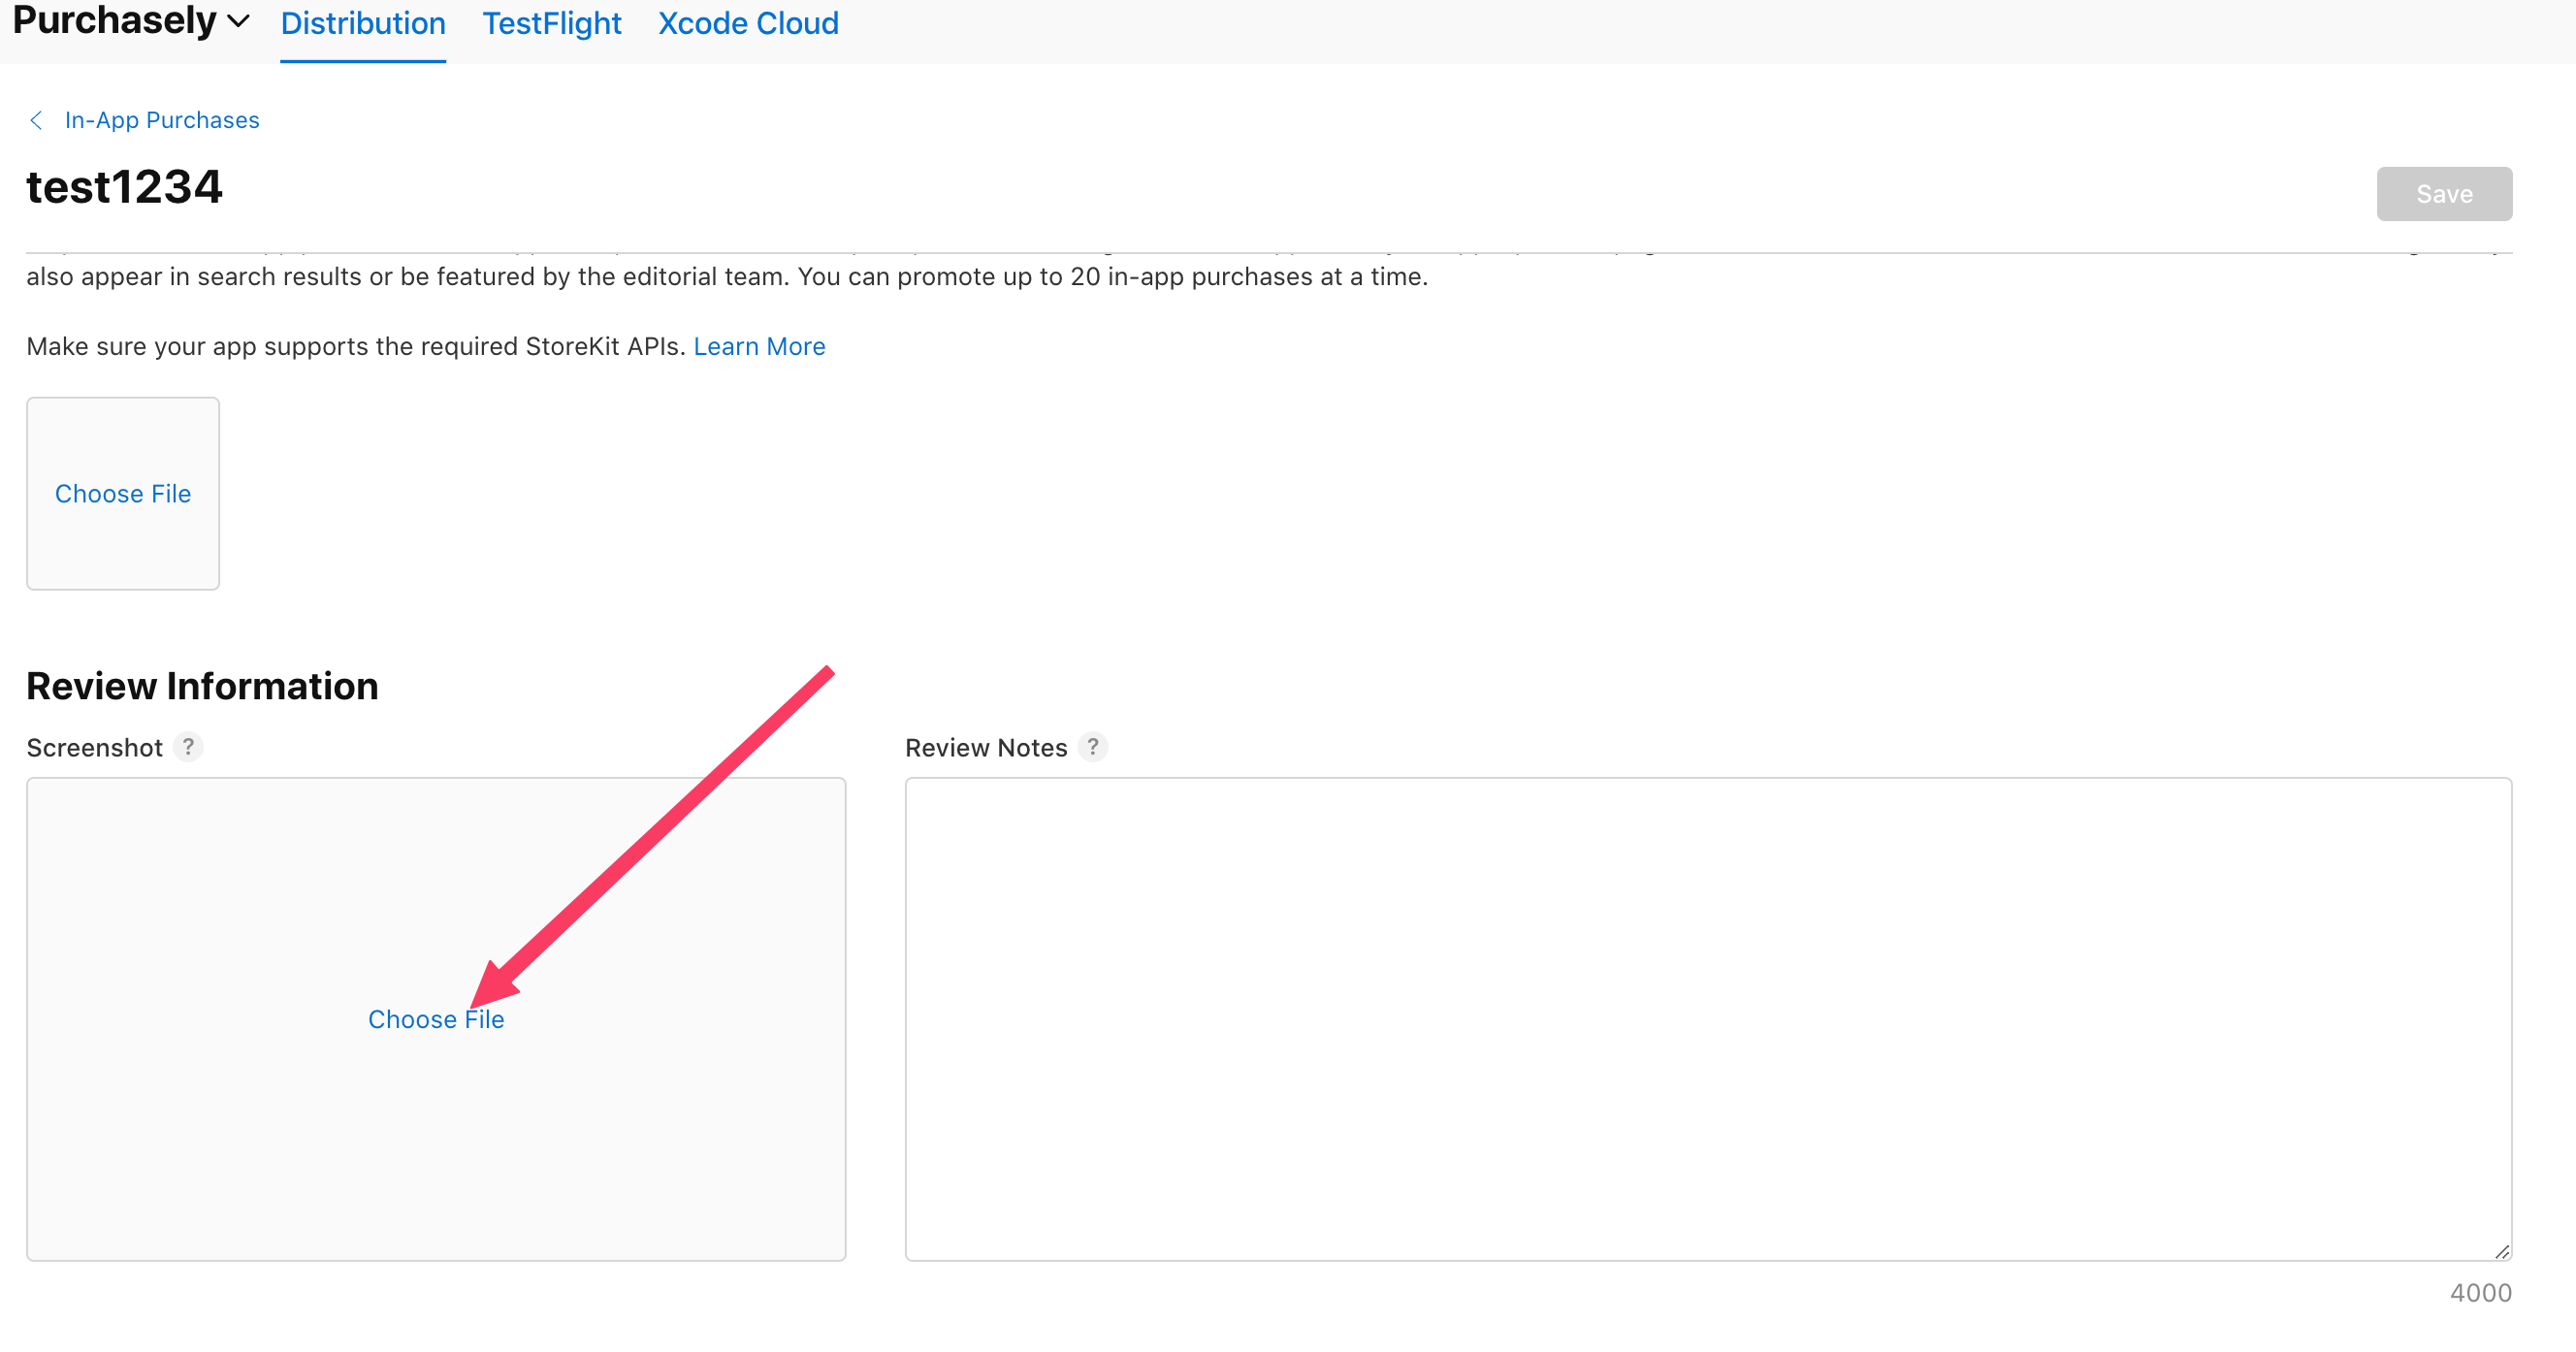
Add Reviewer Information
The last part of setting up an In-App Purchase in iOS is adding information for the reviewer. This is a Screenshot, and optional Review Notes. You'll be unable to submit your product for review without it.
Screenshot: A required image of your in-app purchase paywall for the reviewer. While testing, it's okay to upload an empty 640 x 920 image here of whatever you want. Before submitting for review, you should add a picture of your paywall.
Review Notes: An optional text area to clarify anything about your in-app purchase for the reviewer.
Updated 8 months ago