Stripe configuration
Configuring Stripe with Purchasely - only for subscription apps
If your subscription app manages web subscriptions with Stripe, you can plug Stripe with Purchasely. The configuration of Stripe with Purchase is performed in 4 steps
I. Installing the Stripe App
Go to the Purchasely's app listing on Stripe apps marketplace
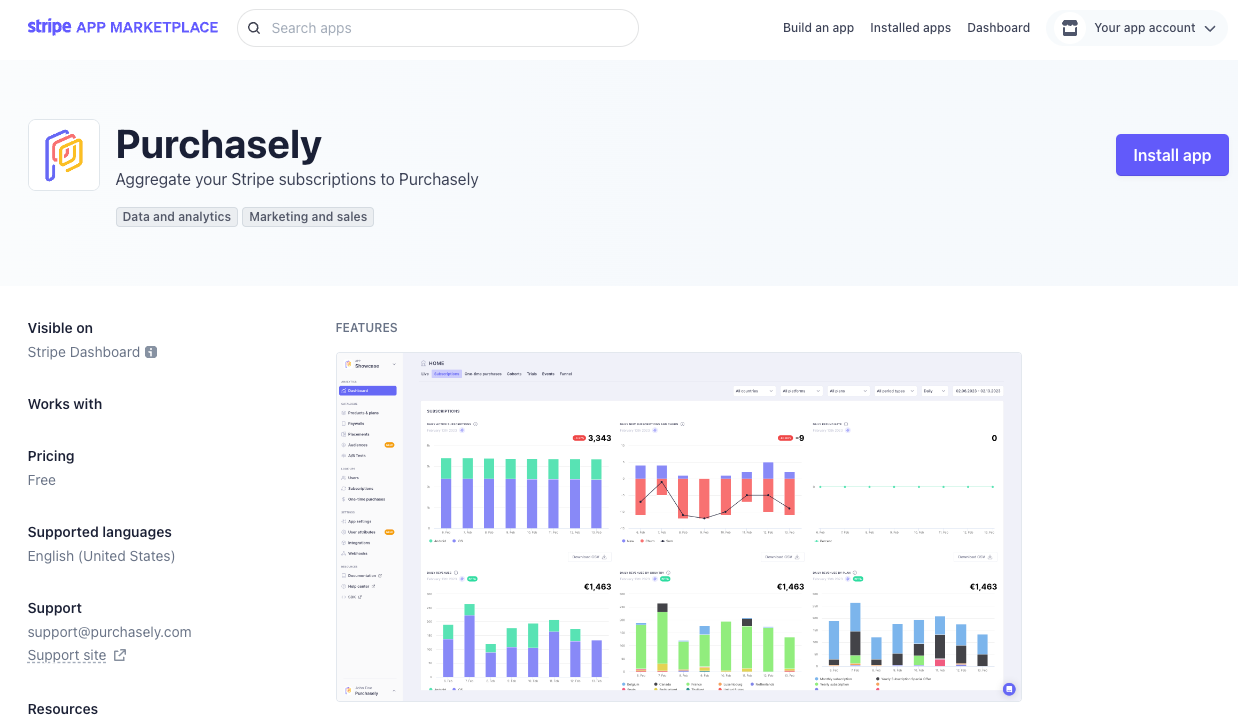
Stripe app market place listing
If you have more than one Stripe account (for each application) then connect the account you want to associate with the application.
One Stripe Account for One Purchasely ApplicationA Stripe application combines a Stripe account with only one Purchasely Application. If your Stripe account works with more than one Purchasely Application, please contact our support team via Intercom.
Read below on how to handle both Stripe "test" and "production" environments.
Click on install app.
The list of authorizations required for the proper functioning of our application is then displayed.
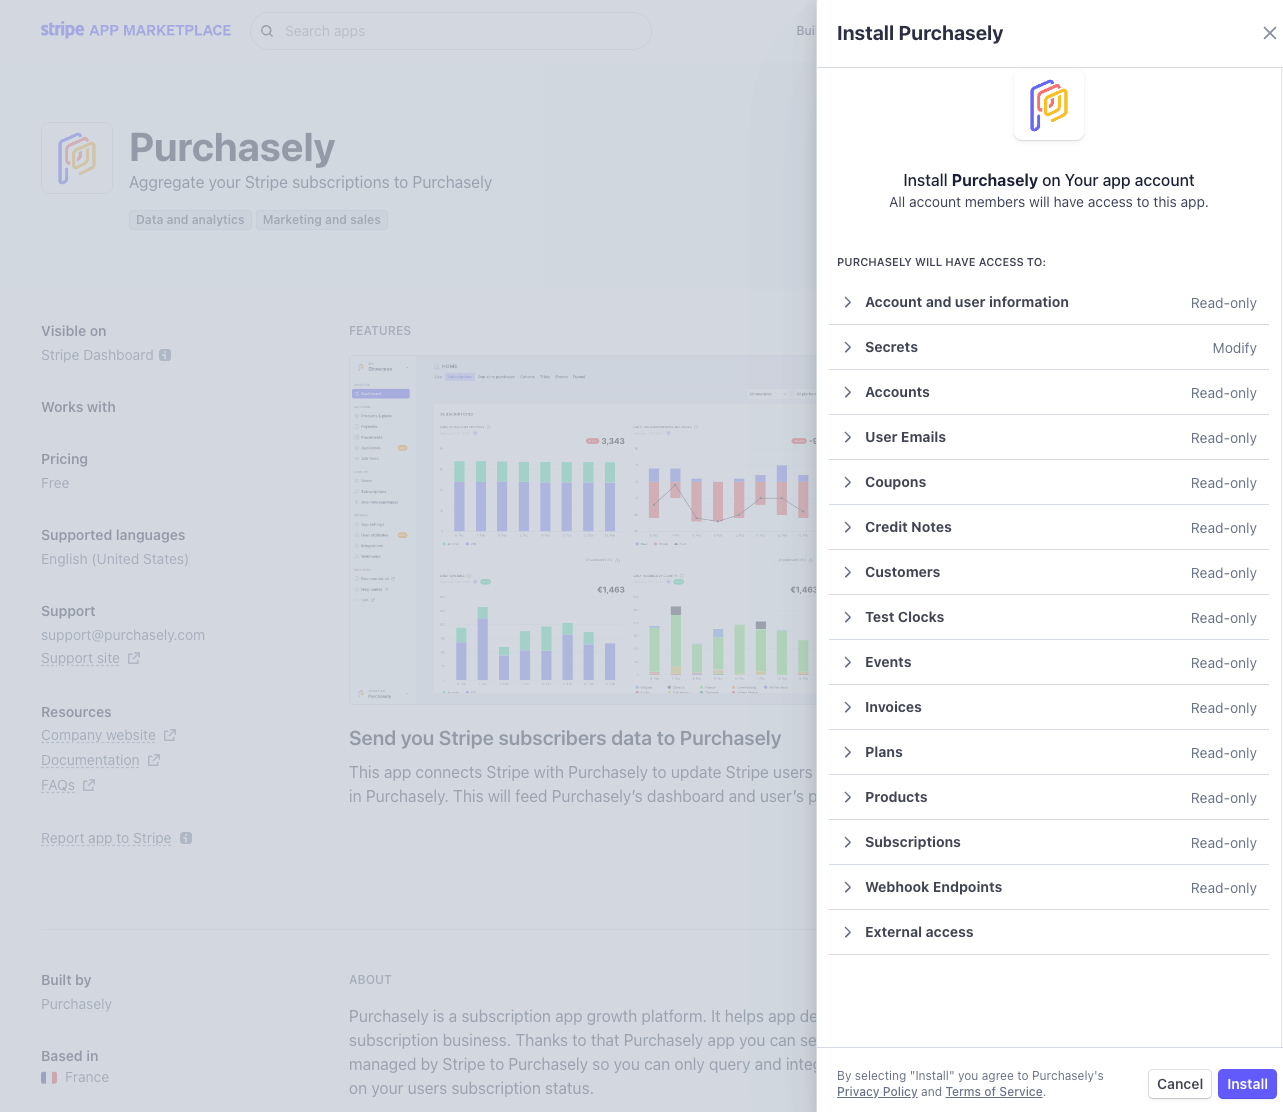
Authorization validation
Question?If you have a question about the use of an authorization, contact our support team via Intercom.
Validate the authorizations requested
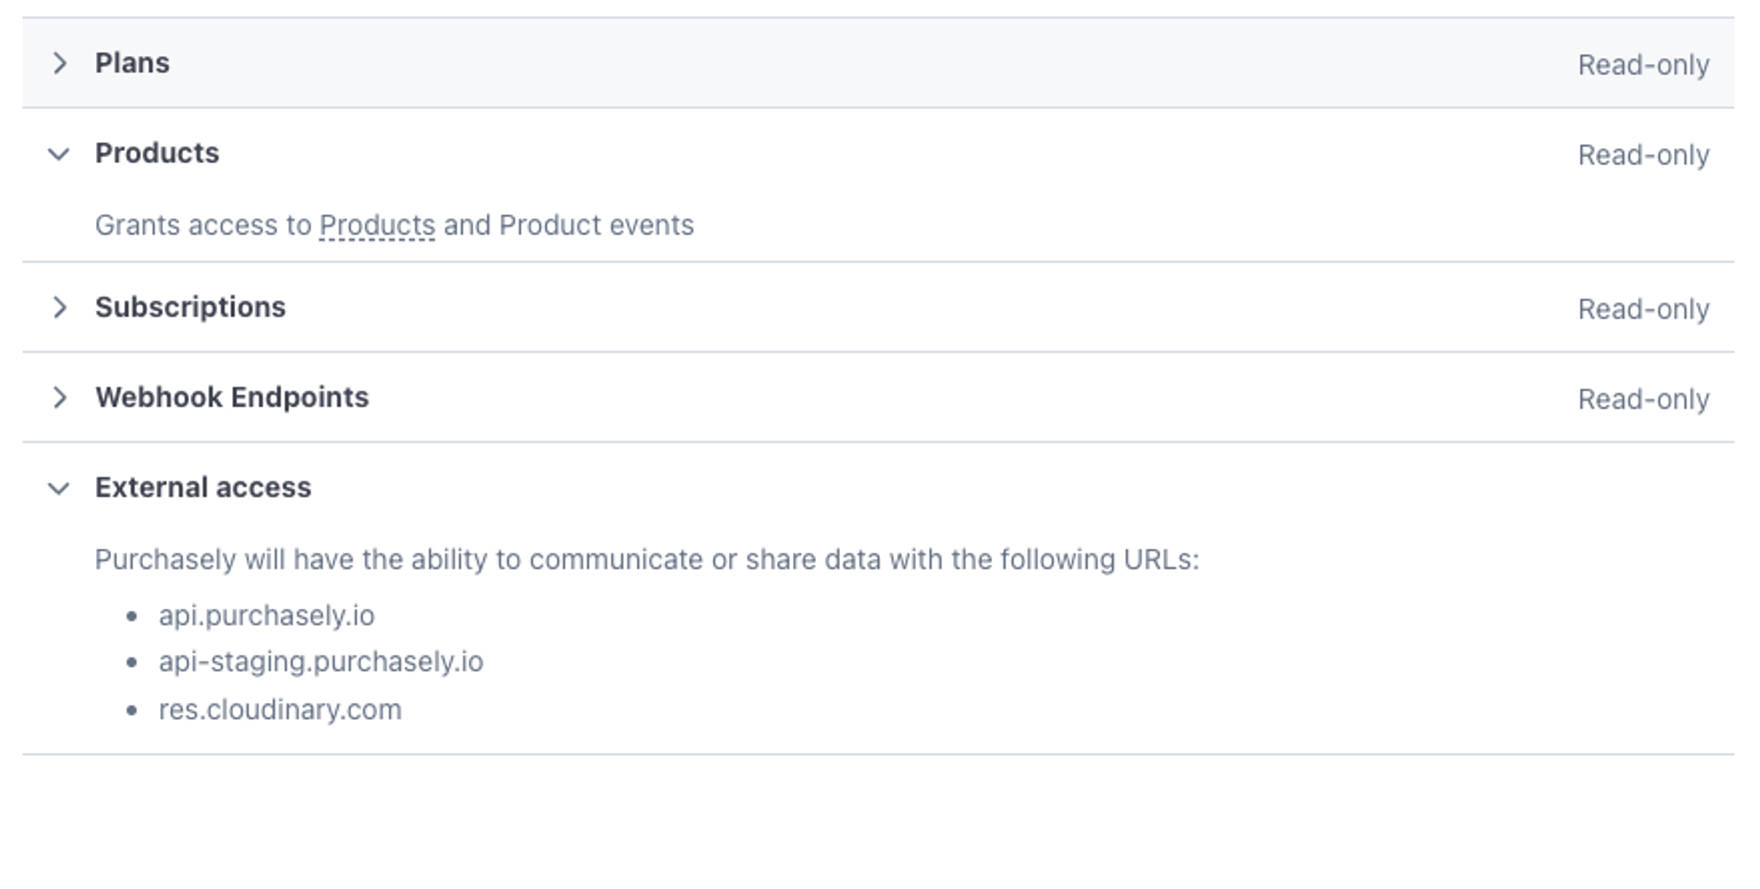
Permission samples
The installation is complete, you can proceed with the configuration.
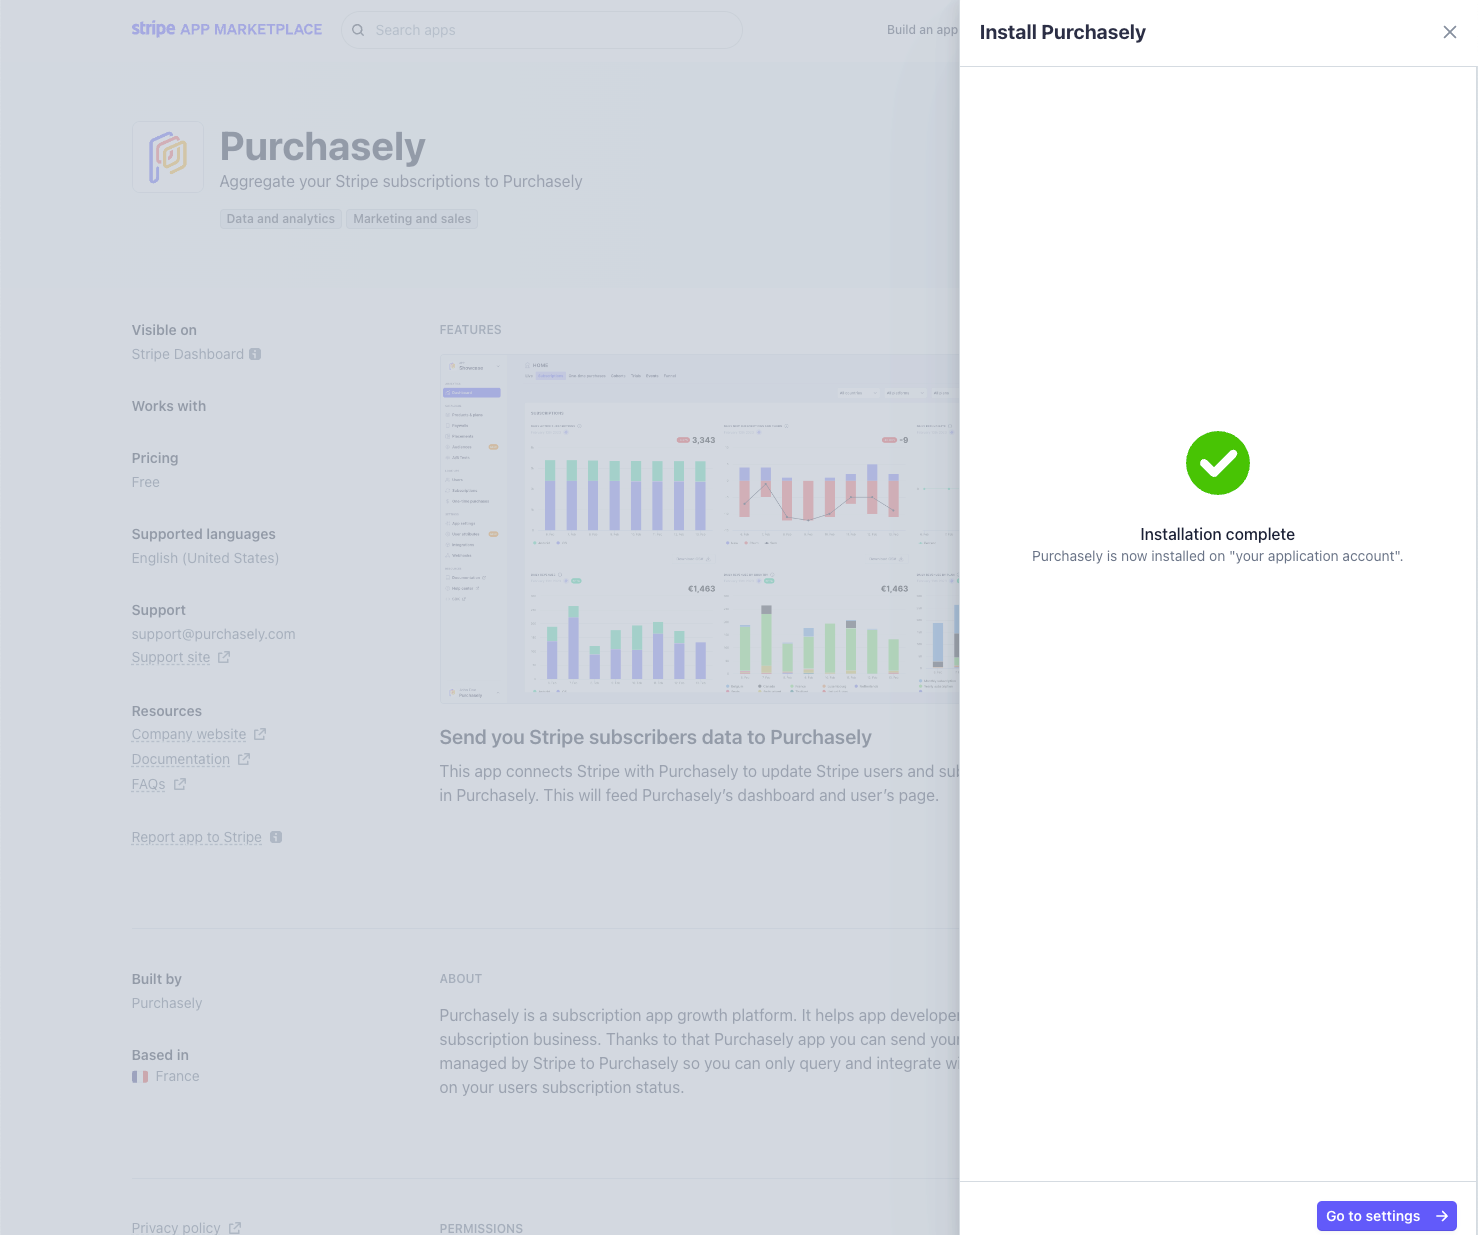
Successful installation
II. Configuration of the Stripe app
Once the Stripe Purchasely app is installed you need to configure it.
Go to the Stripe console in Settings > installed apps > Purchasely.
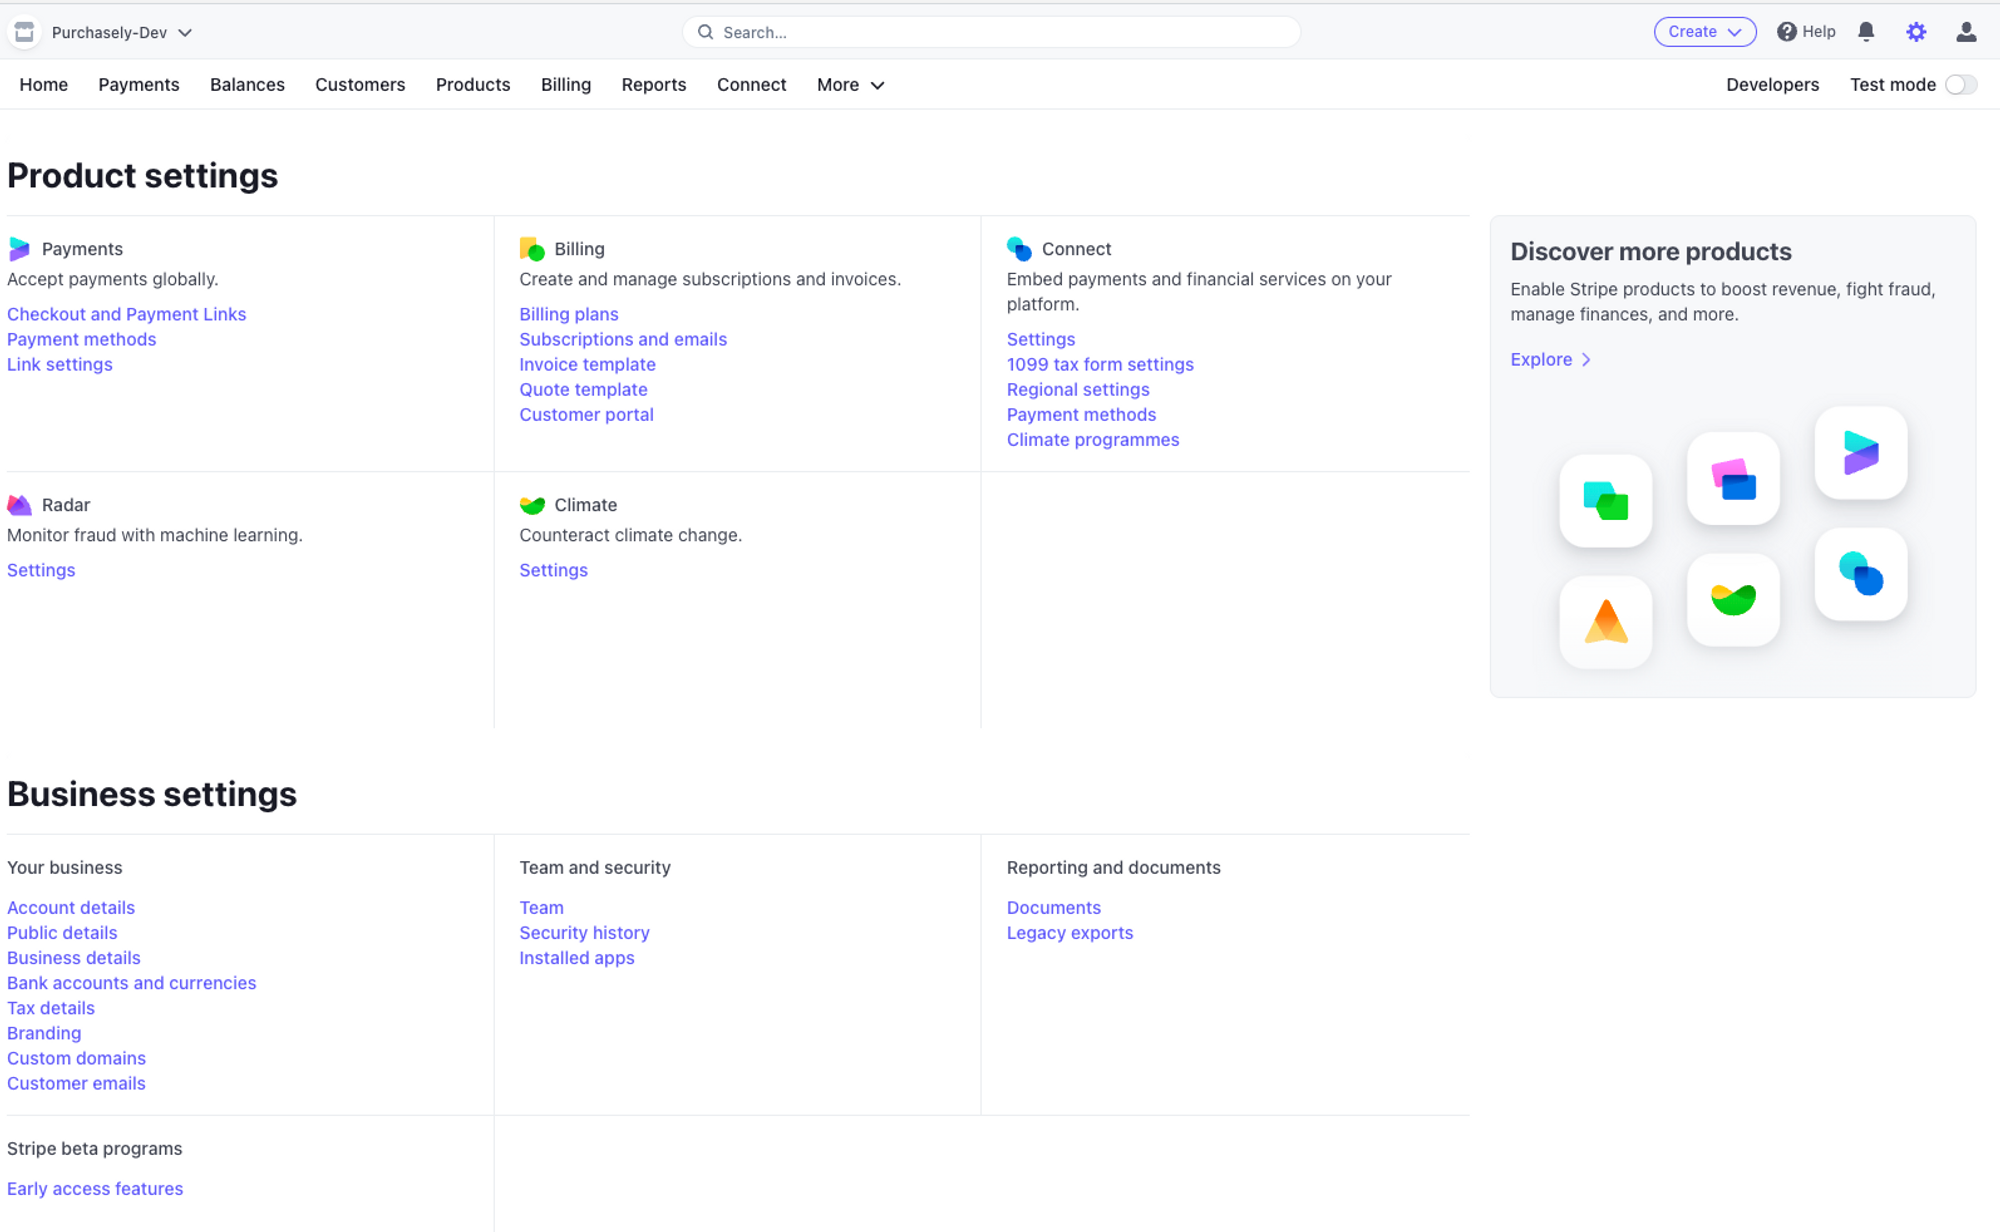
Settings

Settings > Installed apps
Associate with Purchasely
Once on the app configuration you need to associate it with your Purchasely account and app. To do this, start by clicking on "SIGN IN".
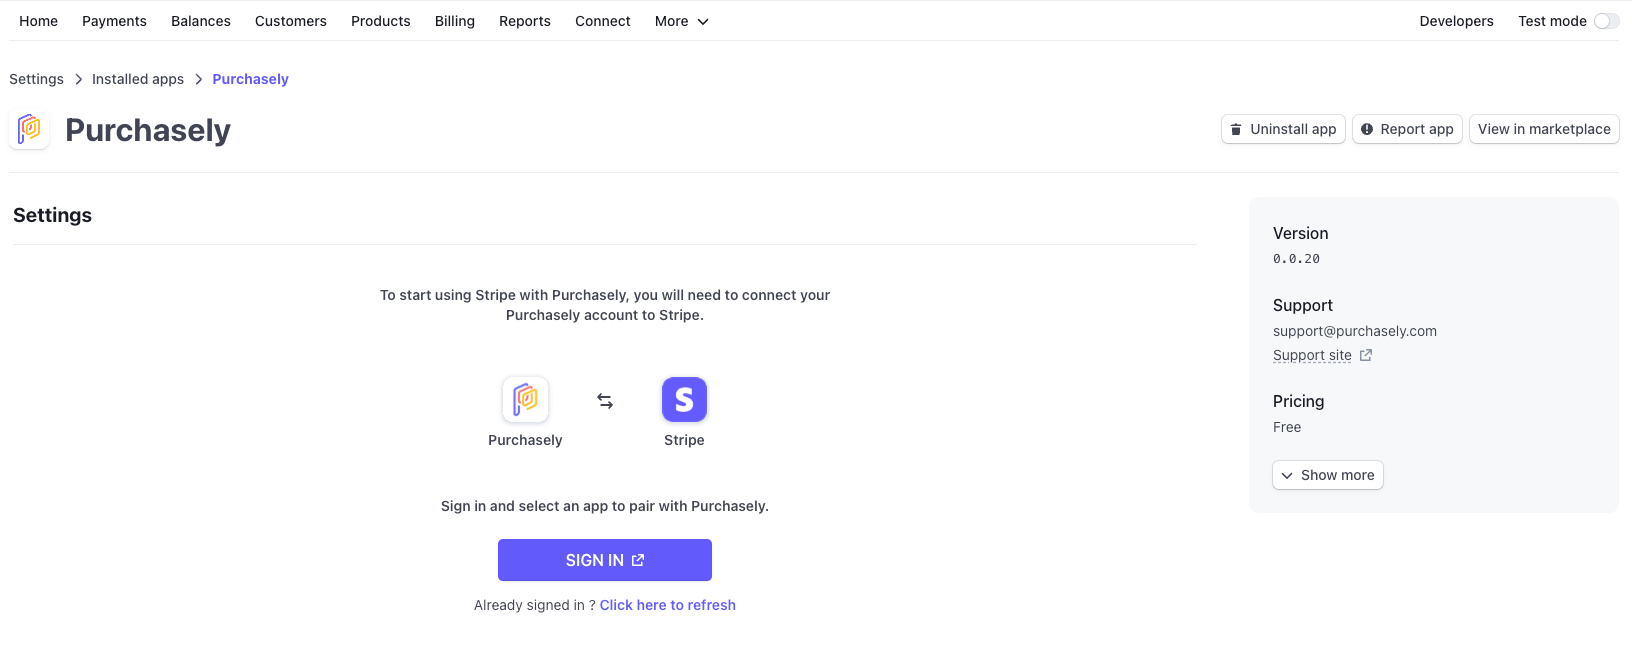
Settings > installed apps > Purchasely
Select the Purchasely app you wish to link your Stripe account to.
Click on "NEXT".
Configuration for Sandbox and ProductionOnce the app is installed, it needs to be configured both in the "test" and "production" Stripe environments for purchases to be tracked in those environments accordingly.
The following configurations are supported :
- 2 Purchasely applications
- My Purchasely App (staging) <-> Stripe Account (test mode)
- My Purchasely App (production) <-> Stripe Account (production mode)
- 1 Purchasely application
- My Purchasely App <-> Stripe Account (test + production mode)
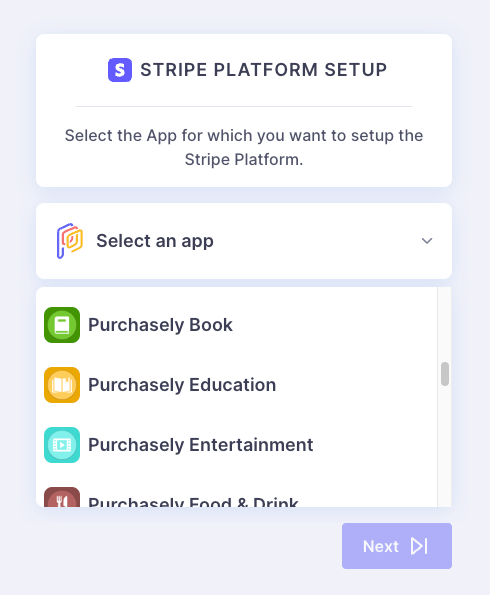
App Selection
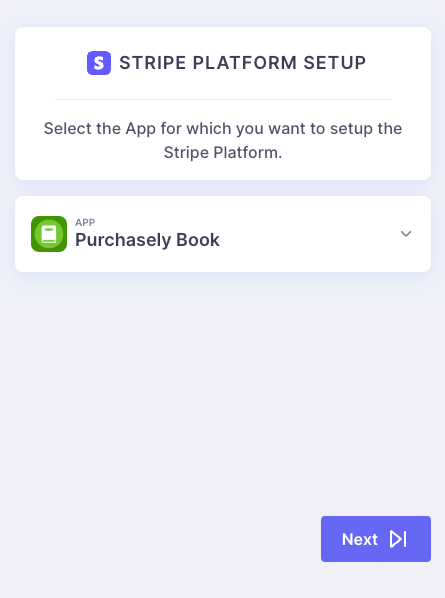
App Selected
Confirm Stripe app link with your mobile application
Once you have selected the application, you will be redirected to Stripe to finalise the configuration by clicking on "CONFIRM".
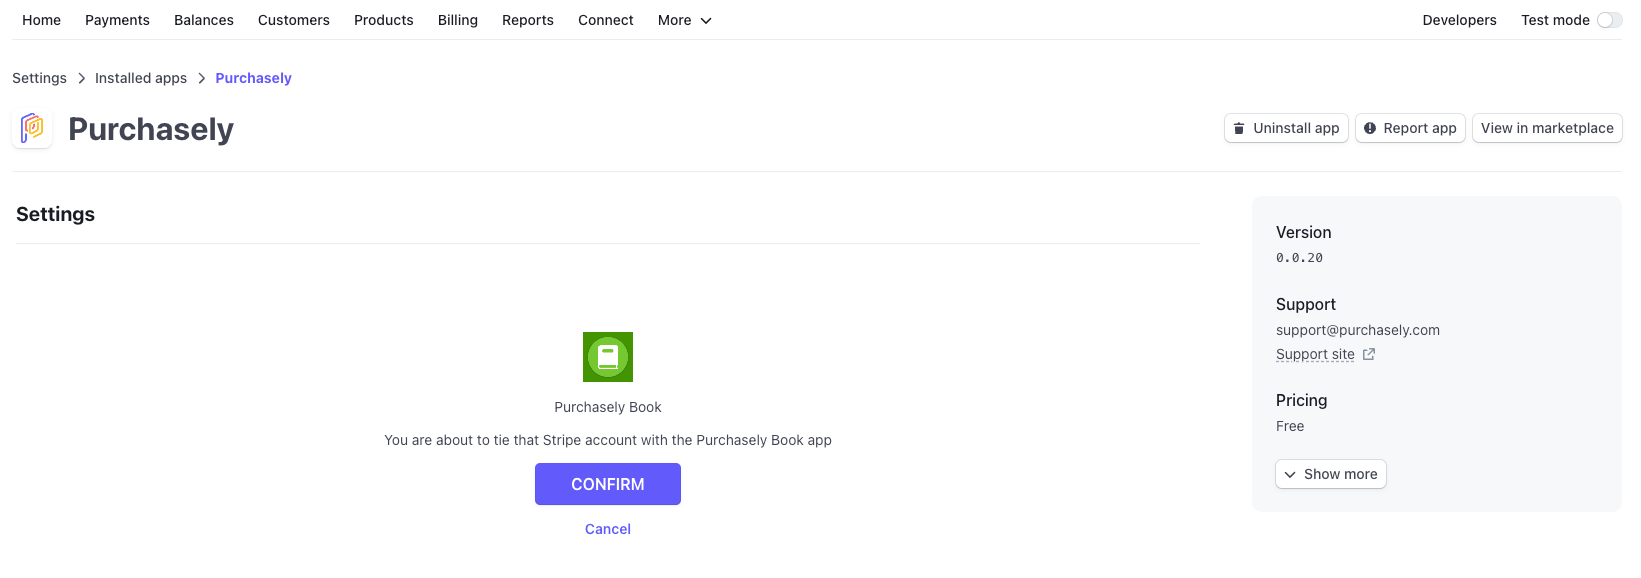
Confirmation screen
The app will appear as below when properly configured in Purchasely and Stripe.
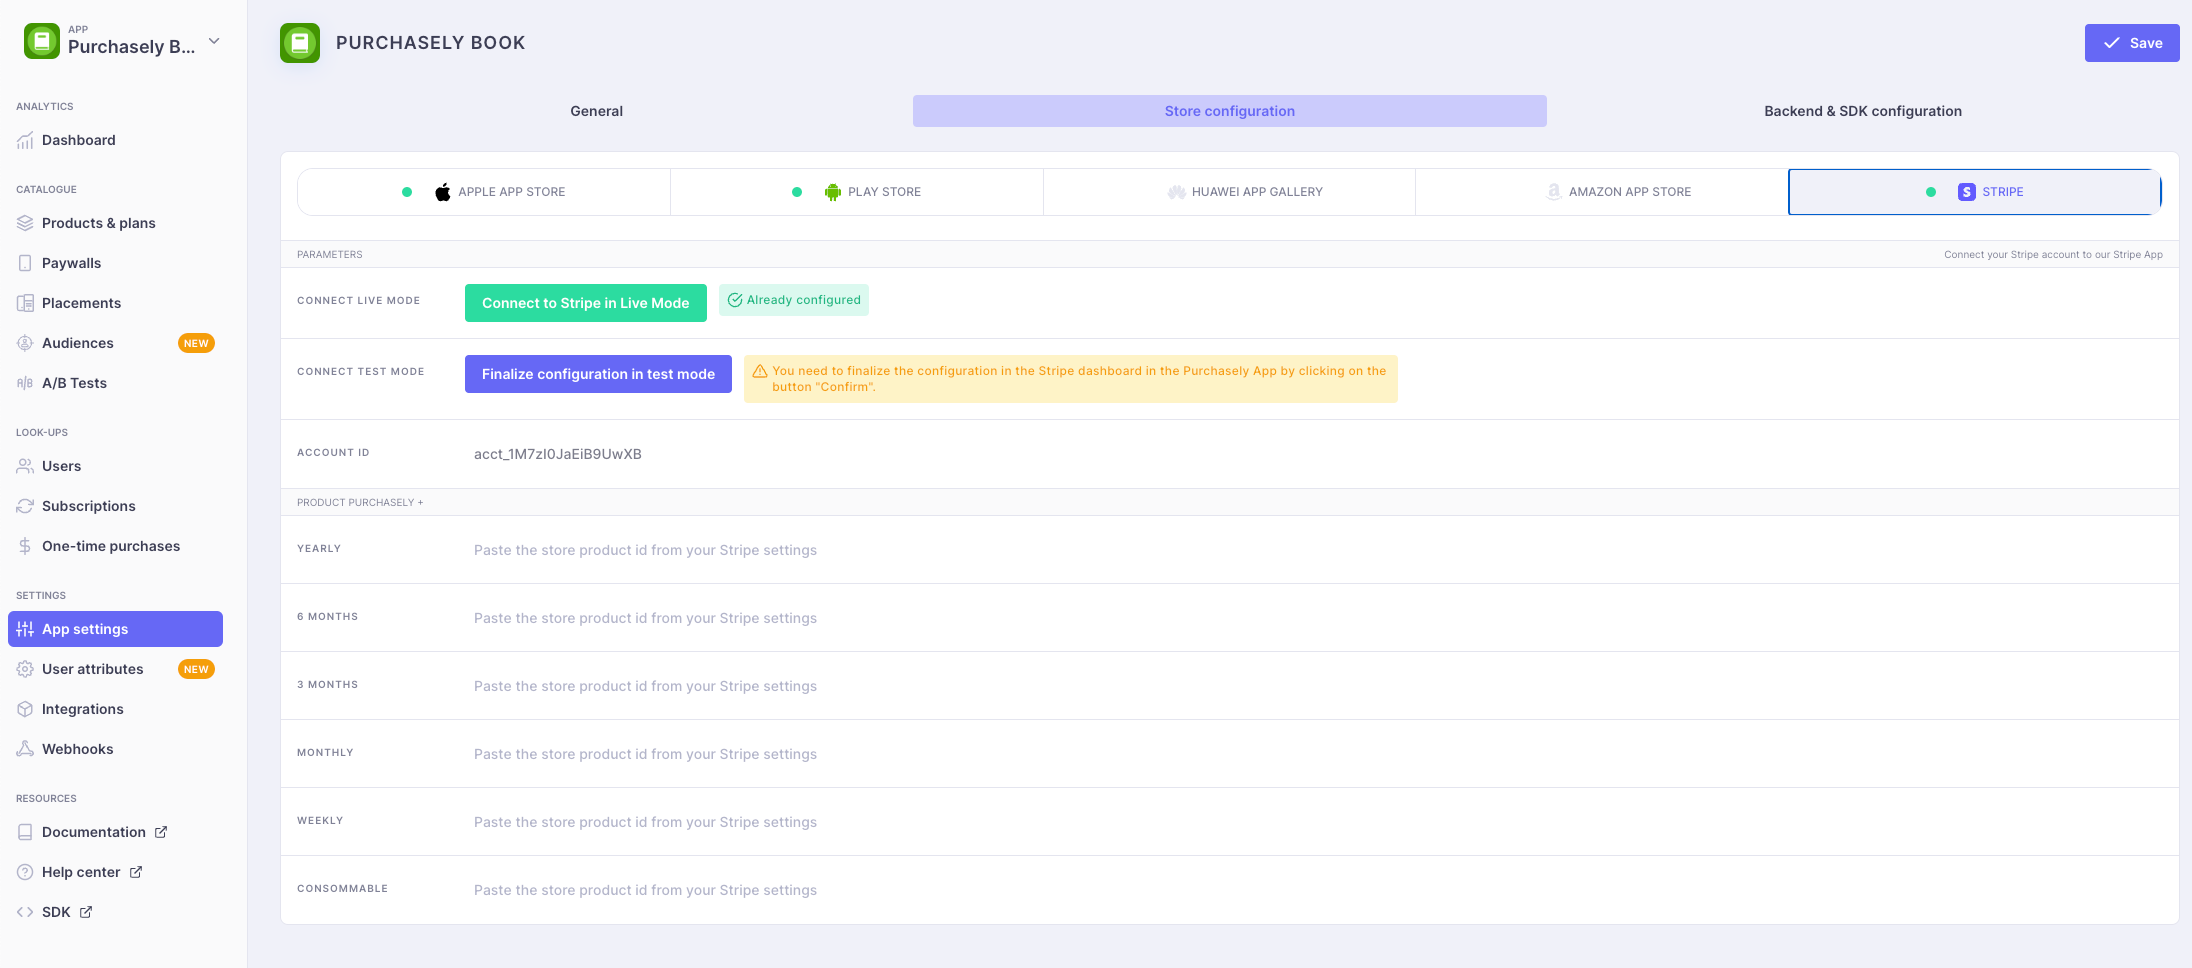
Purchasely App Settings
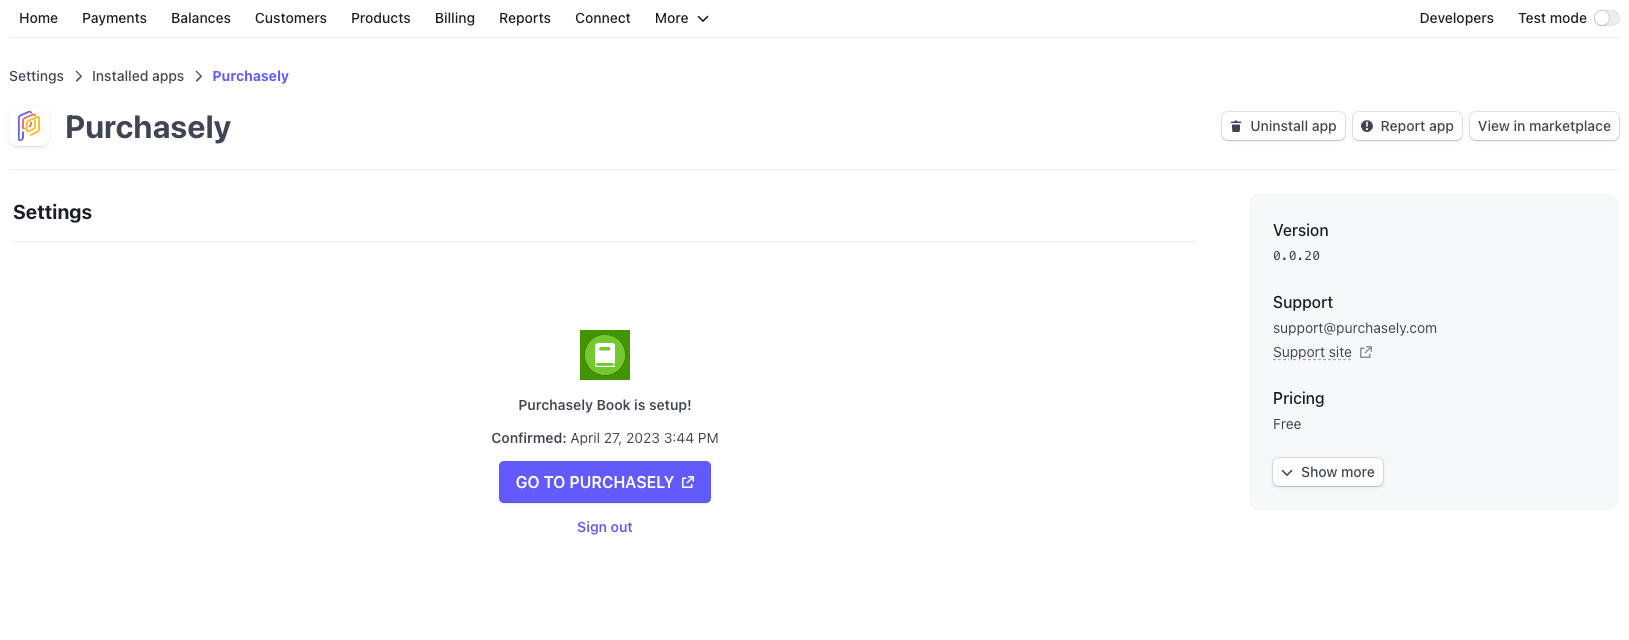
Stripe App Settings - Configured
III. Configuration of plans
In order for Purchasely to associate Stripe products, they must be defined in the plans. Also you must associate each Pricing Stripe to a Purchasely Plan otherwise the purchase will not be taken into account by Purchasely.
From the Stripe console, copy the API ID (price) ...
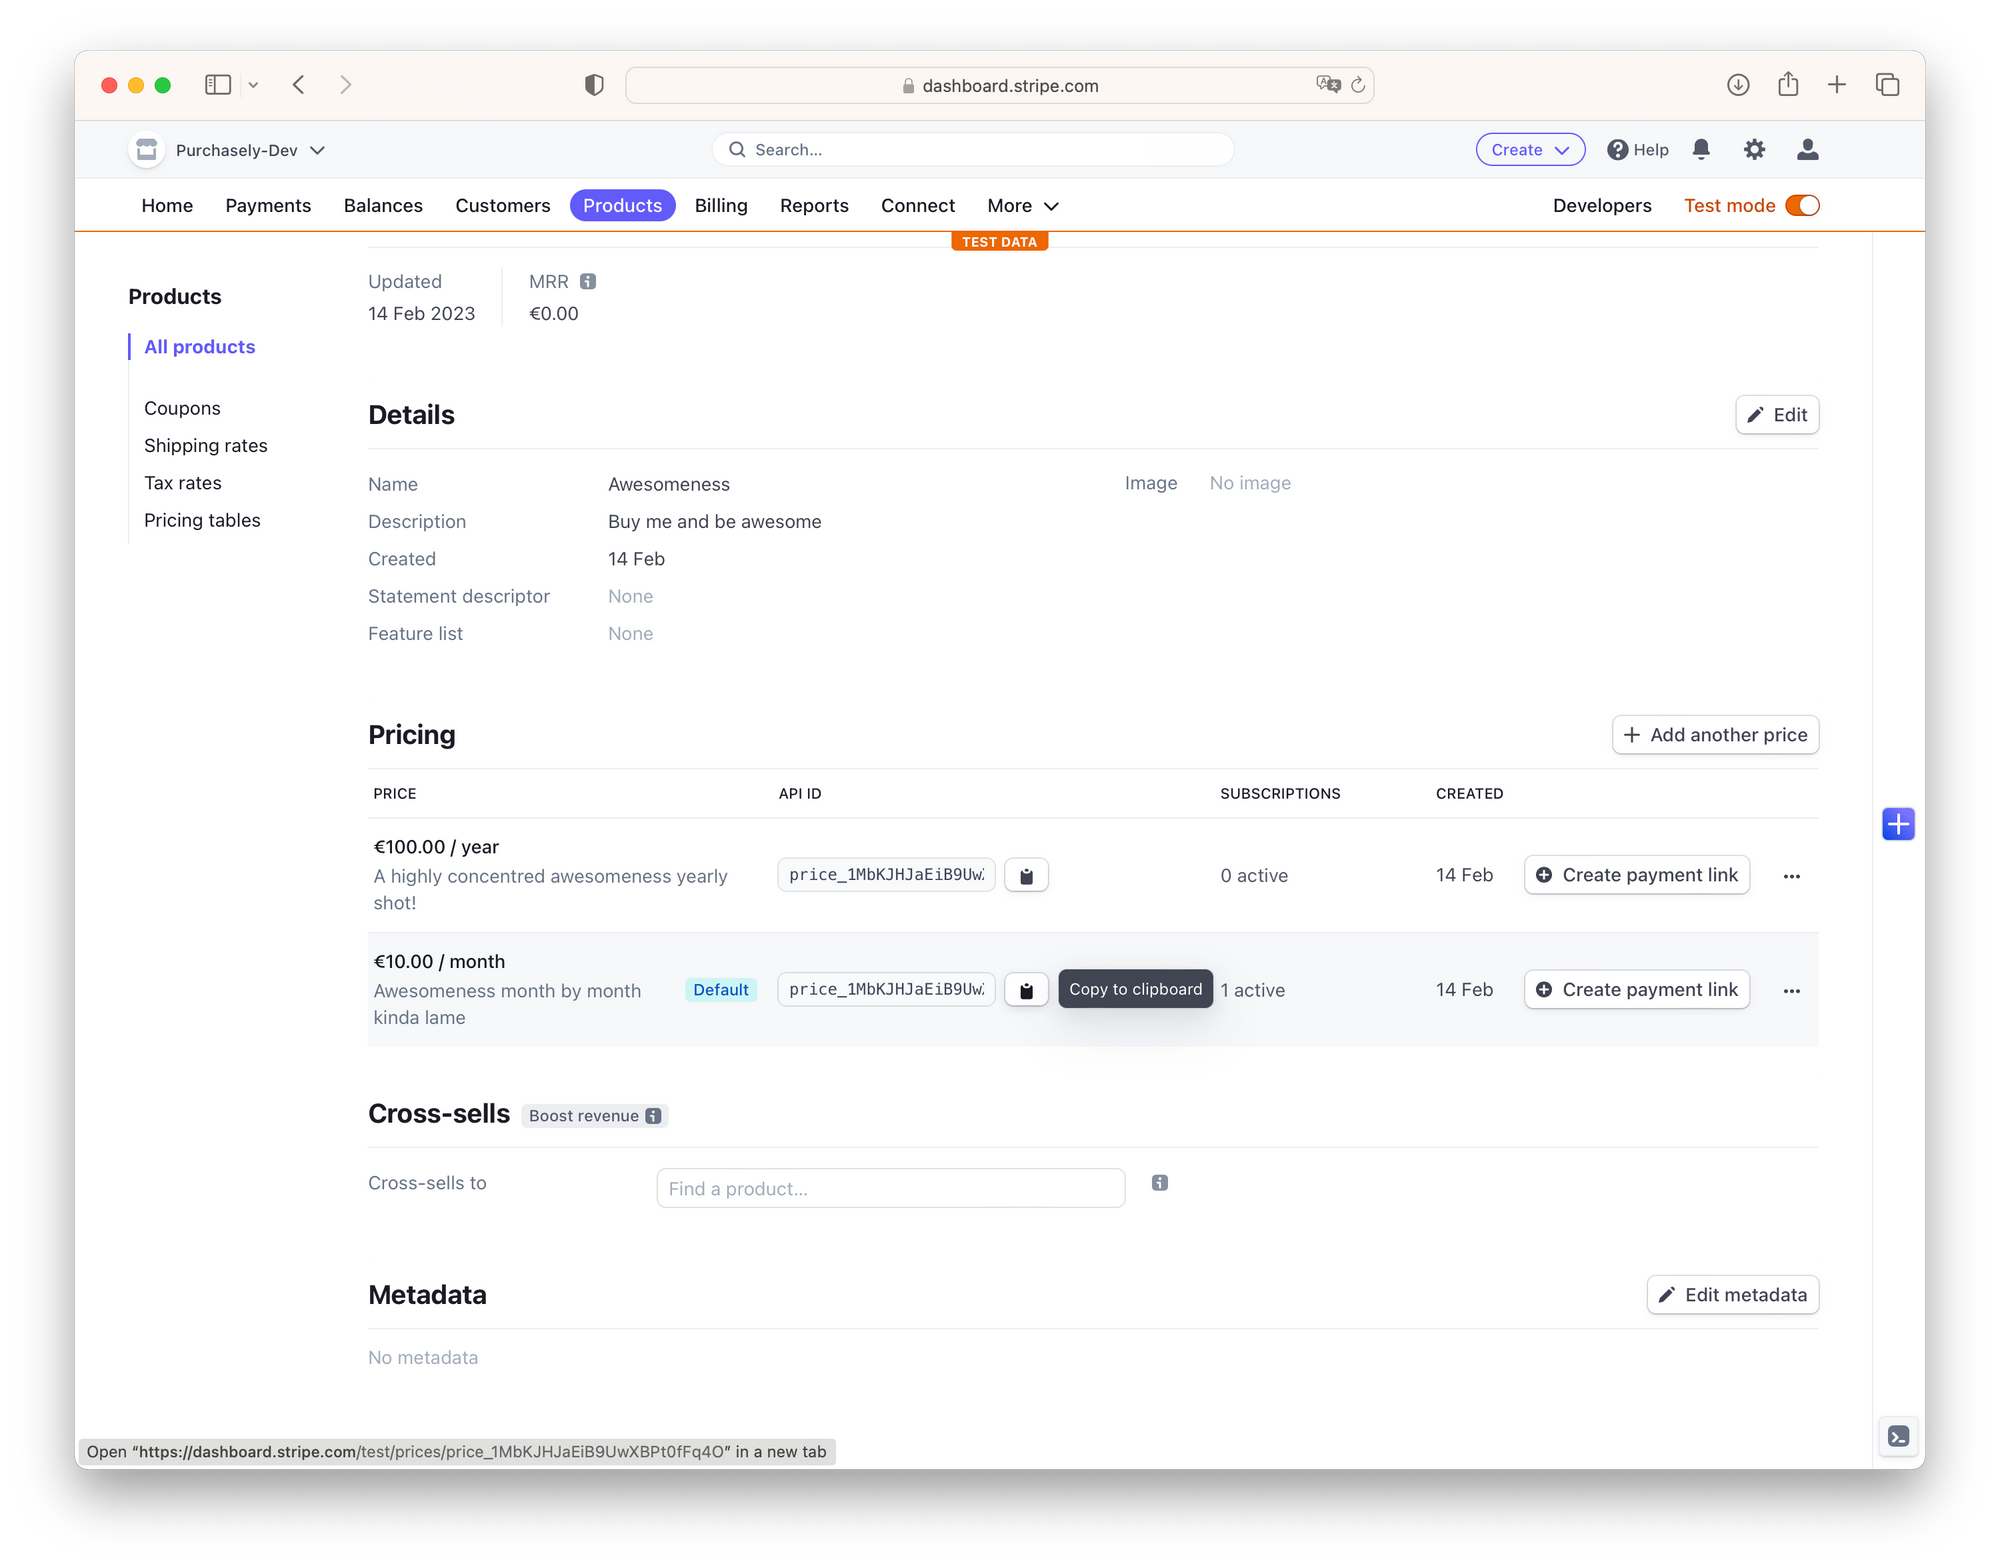
Then paste this ID into the corresponding plan:
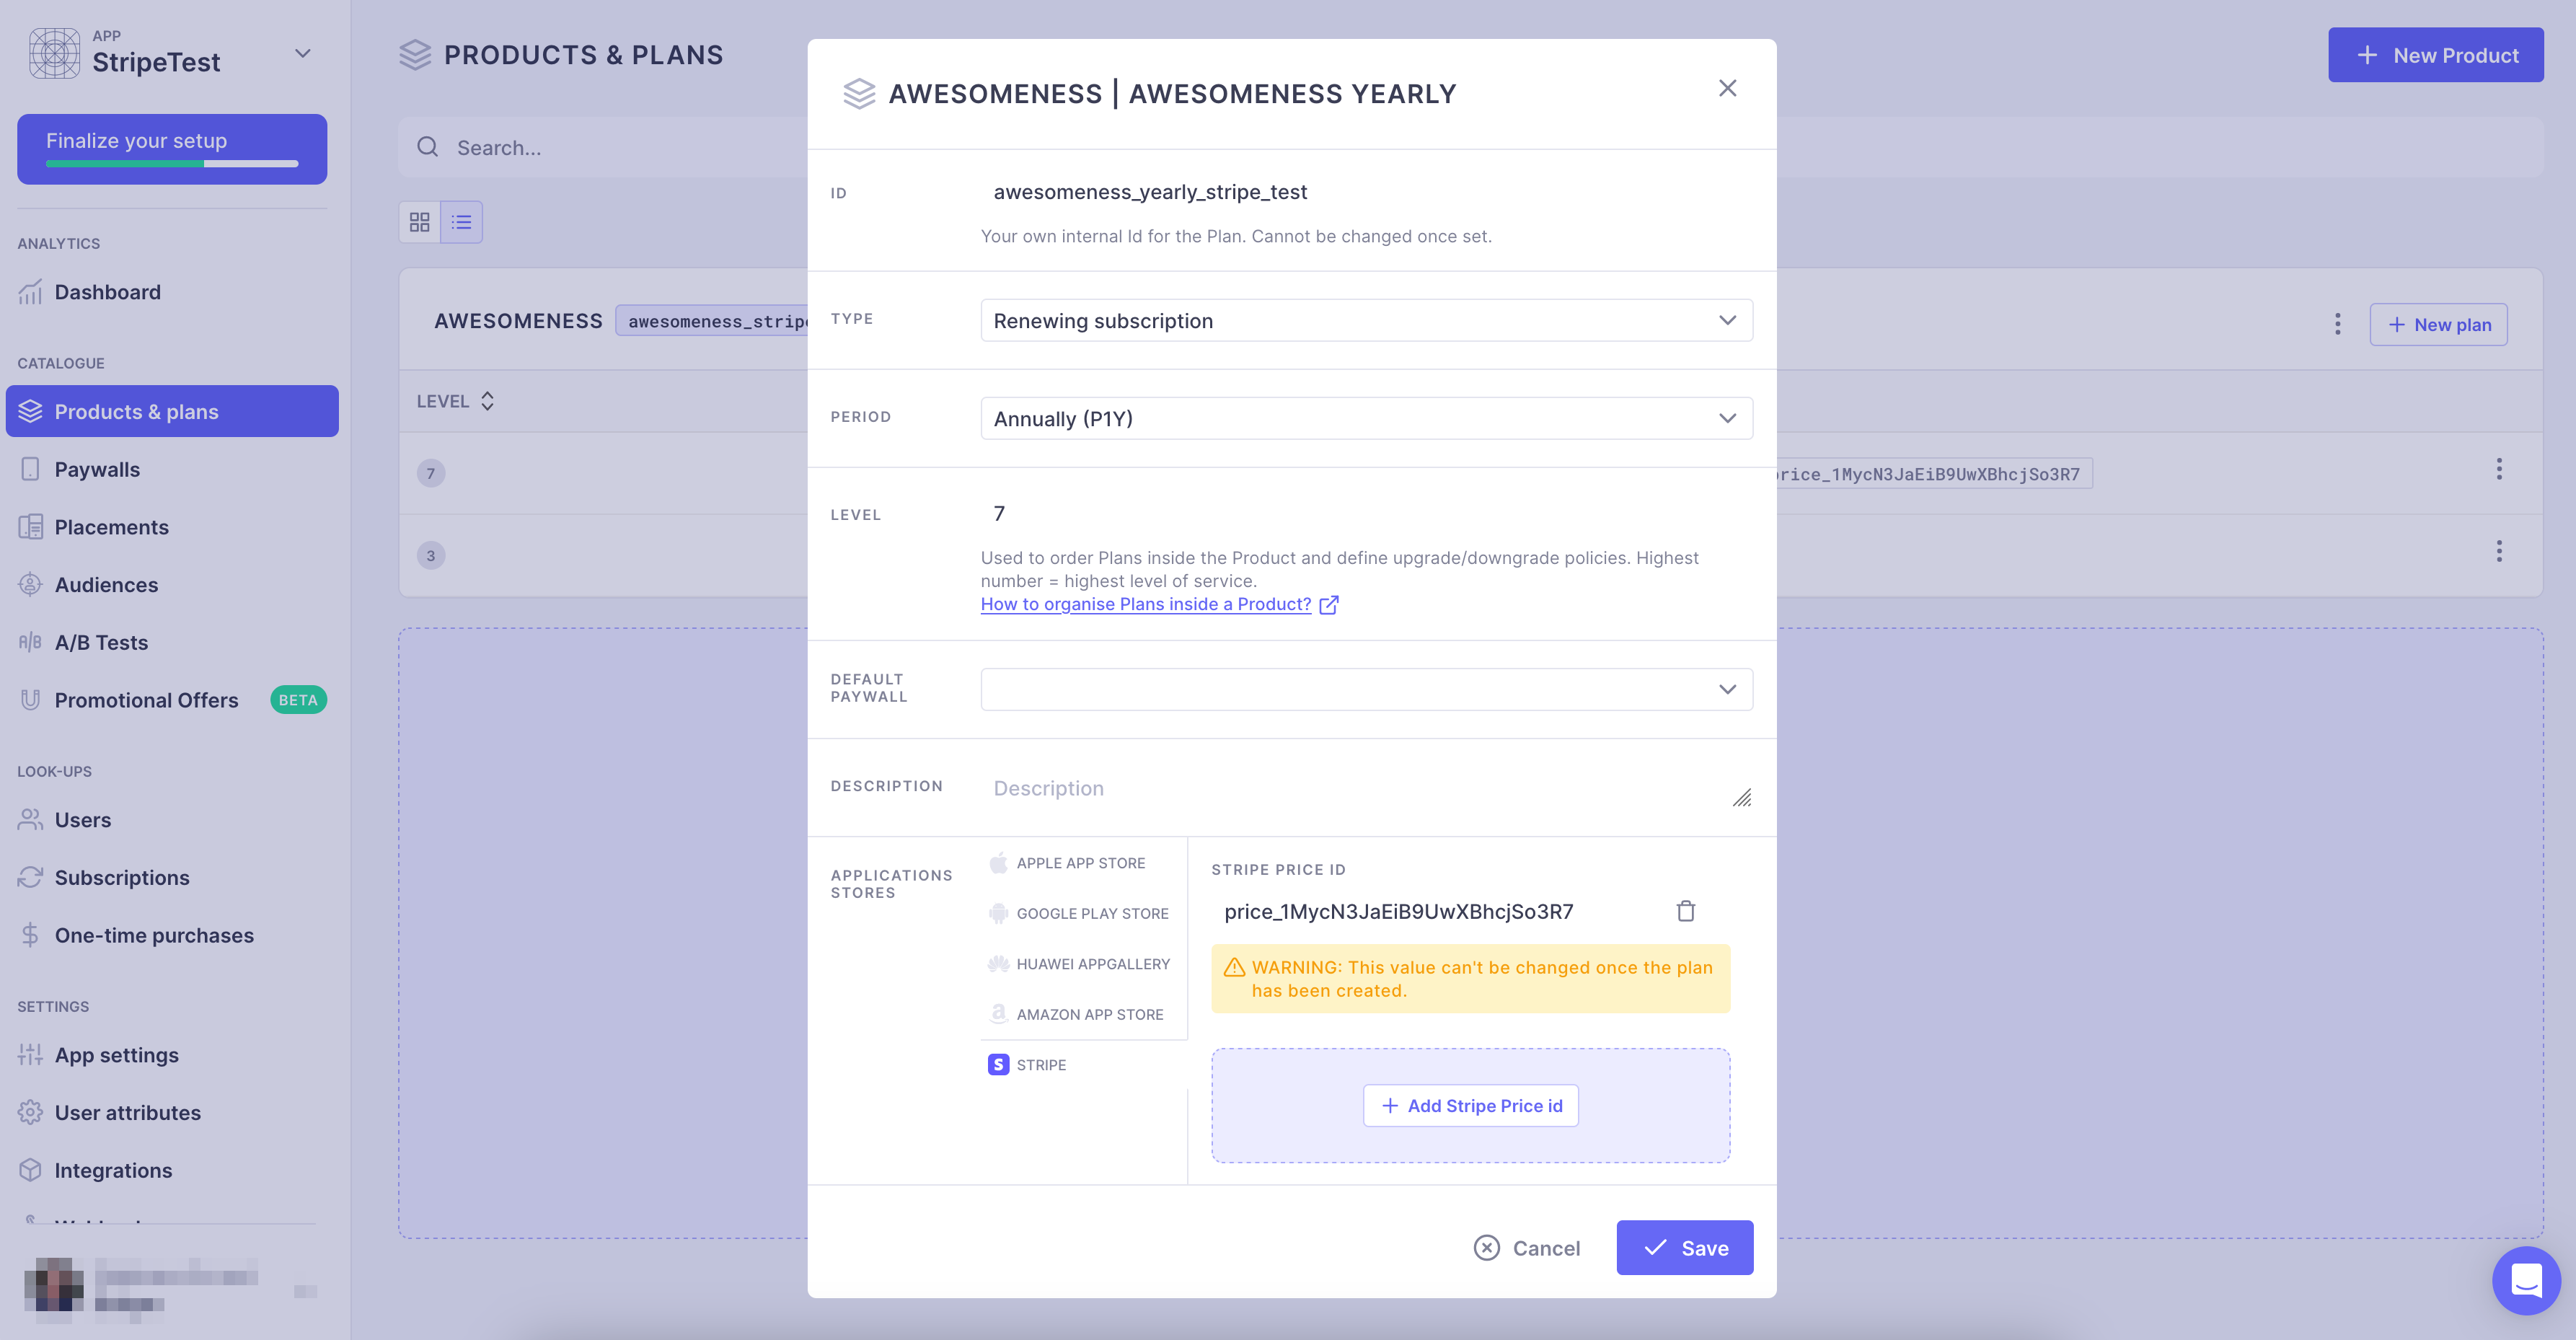
Purchasely allows you to associate more than one Stripe Price to one given Purchasely plan, to handle cases where there exists several Stripe Prices tied to the same "plan" but with a different currency.
Different Stripe PriceDo not associate more than one Stripe Price to one given Purchasely plan if the Stripe Prices have different periodicity, or different level of entitlement.
For such use cases, create another plan.
IV. Associating Stripe subscriptions to Purchasely
This last step allows Purchasely to retrieve and associate a purchase with a user.
This step is mandatory, otherwise we won't track the subscriptionWe need to know the association between the Stripe Subscription and your User ID
Otherwise we would track the subscription but wouldn't know to which user in your app to associate it with
The principle is the same as for the migration of an existing subscriber
To send us this information, simply call our API and provide it with
stripe_object_id: the Stripe subscription IDstripe_price_id: the Stripe Price Id for this subscription (ON STRIPE)user_id: the user_id associated with the purchase, the same as you enter in the SDK during configuration.stripe_object_type: the type of Stripe object sent, currently we only acceptsubscription
curl \
  --request POST \
  -i \
  -H "Content-Type: application/json" \
  -H "X-API-KEY:{{YOUR_API_KEY}}" \
  -H "X-PLATFORM-TYPE:STRIPE" \
  --data '{"stripe_object_id":"{{STRIPE_SUBSCRIPTION_ID}}","stripe_price_id":"{{STRIPE_PRICE_ID_FOR_THIS_SUBSCRIPTION}}", "user_id":"{{SAME_ID_AS_IN_SDK_CONFIGURATION}}", "stripe_object_type":"subscription"}' \
  https://s2s.purchasely.io/receipts
Example request:
curl \
  --request POST \
  -i \
  -H "Content-Type: application/json" \
  -H "X-API-KEY:AAAAAAAA-BBBB-CCCC-DDDD-EEEEEEEEEEEE" \
  -H "X-PLATFORM-TYPE:STRIPE" \
  --data '{"stripe_object_id":"sub_1MluxqJaEiB9UwXB34gmtzCB","stripe_price_id":"price_1MbKJHJaEiB9UwXBPt0fFq4O", "user_id":"jdo-cus_Msq9YfCiFkFzVx", "stripe_object_type":"subscription"}' \
https://s2s.purchasely.io/receiptscurl \
--request POST \
-i \
-H "Content-Type: application/json" \
-H "X-API-KEY:{{YOUR_API_KEY}}" \
-H "X-PLATFORM-TYPE:STRIPE" \
--data '{"stripe_object_id":"{{STRIPE_SUBSCRIPTION_ID}}","stripe_price_id":"{{STRIPE_PRICE_ID_FOR_THIS_SUBSCRIPTION}}", "user_id":"{{SAME_ID_AS_IN_SDK_CONFIGURATION}}", "stripe_object_type":"subscription"}' \
https://s2s.purchasely.io/receiptsExample request:
curl \
  --request POST \
  -i \
  -H "Content-Type: application/json" \
  -H "X-API-KEY:AAAAAAAA-BBBB-CCCC-DDDD-EEEEEEEEEEEE" \
  -H "X-PLATFORM-TYPE:STRIPE" \
  --data '{"stripe_object_id":"sub_1MluxqJaEiB9UwXB34gmtzCB","stripe_price_id":"price_1MbKJHJaEiB9UwXBPt0fFq4O", "user_id":"jdo-cus_Msq9YfCiFkFzVx", "stripe_object_type":"subscription"}' \
  https://s2s.purchasely.io/receipts
Real-Time EventsPurchasely relies on Stripe webhooks to get the information about a known subscription in real time. This information is processed by our system to create Purchasely events and then sent to your webhook, if configured.
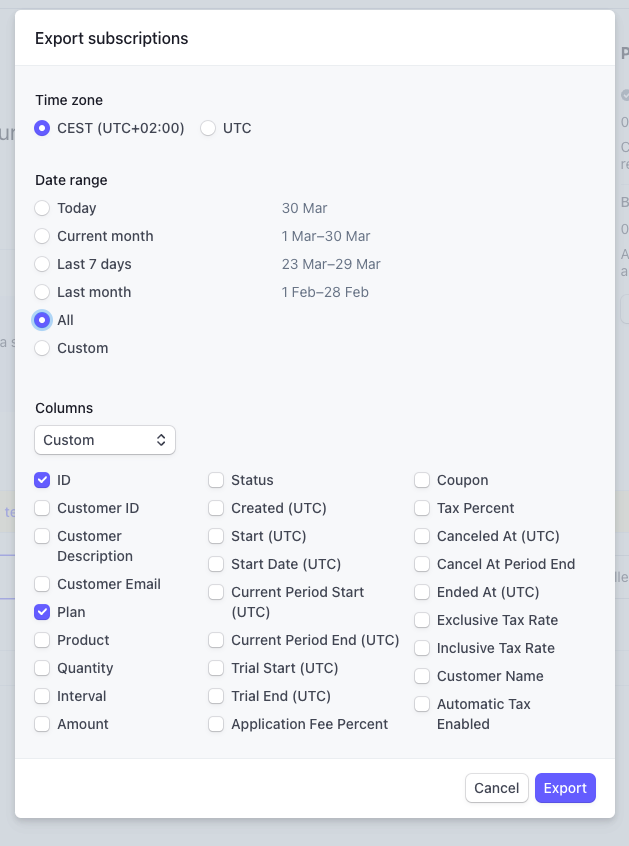
ExportYou can export a list of your Stripe's subscriptions with their associated prices from your Stripe Stripe dashboard.
On Stripe go under:
Billing > Subscription > Export
Select: Custom and keep only "ID" and "Plan"
Updated 25 days ago