
Piano Analytics
This section provides details on how to activate the Piano Analytics <> Purchasely integration
Overview
Piano is a platform that helps digital content businesses manage their online subscriptions, paywalls, and audience engagement. It offers tools for personalized content delivery, monetization strategies, and analytics to optimize user experience and maximize revenue. By integrating with media outlets and publishers, Piano.io enables companies to streamline access control, grow their subscriber base, and generate insights for better audience targeting and retention. Contrary to Purchasely which has a mobile-first focus, Piano offers web-oriented services.
Integrating Piano with Purchasely combines the strengths of both platforms to enhance in-app subscription management and growth. This integration allows businesses to offer more personalized subscription experiences across mobile (what Piano does not allow them to do), and gain unified insights into user behavior and subscription performance on both mobile and web. Additionally, it helps streamline subscription management across multiple channels, improving retention and engagement.
Pre-requisite
The minimal version of the Purchasely SDK supporting this integration is 3.3.0. If the Purchasely SDK integrated with your app is under the minimal version, please update it.
The Piano also needs to be integrated inside the app.
Integrating Purchasely with Piano
The activation requires 7 steps
- Retrieving your
Site IDfrom the Piano Dashboard - Setting up a new Javascript Tag Composer Configuration in the Piano Dashboard
- Retrieving your
Collect Serverfrom the Piano Dashboard - Picking a
Collect Path(ie "subscription") - Configuring Piano to accept the event names you will be using
- Enabling the
Pianointegration in the Purchasely Console - Enabling the forwarding of Server Events to Piano in the Purchasely Console
1 - Associate users with a AT Internet Client ID (SDK implementation)
This has to be done at the app level by using the following piece of code:
Purchasely.setAttribute(.atInternetIdClient, value: ATInternet.sharedInstance.defaultTracker.getUserId())ATInternet.getInstance().defaultTracker.getUserId {
if(it != null) Purchasely.setAttribute(Attribute.AT_INTERNET_ID_CLIENT, it)
}Purchasely.setAttribute(Attributes.AT_INTERNET_ID_CLIENT, atInternetUserId);See the CleverTap Documentation for more information.
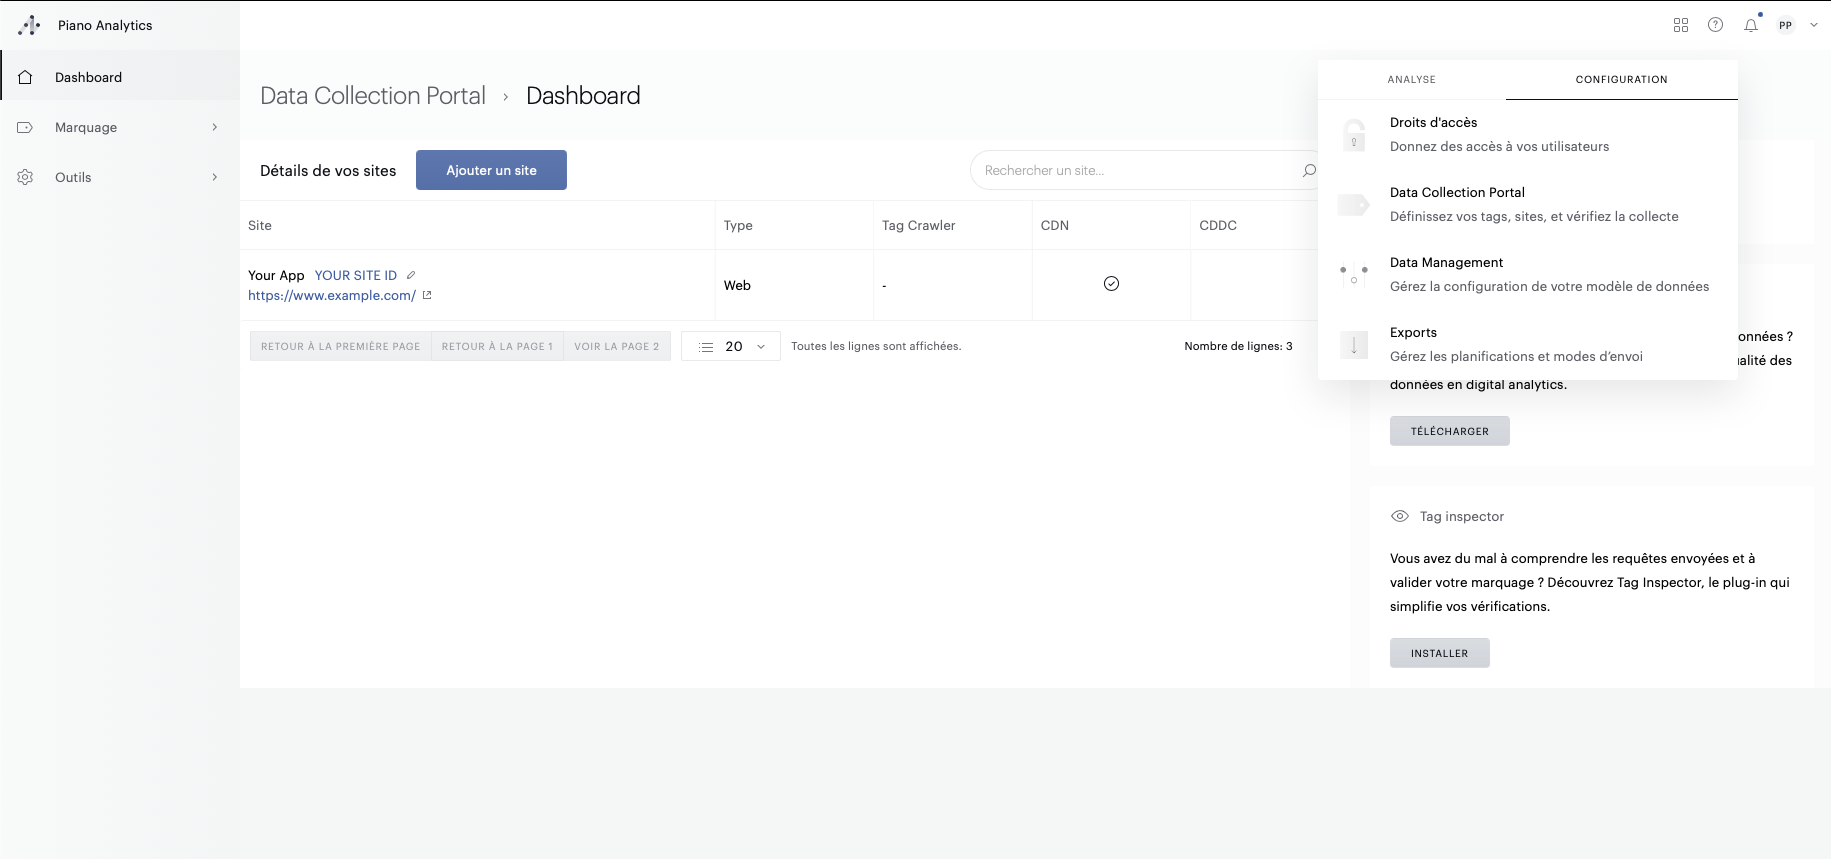
2 - Retrieve your Site ID from the Piano Dashboard
Site ID from the Piano Dashboard- Log into your Piano Dashboard
- You will find your
Site IDnext to your site's name
3. Set up a new Javascript Tag Composer Configuration in the Piano Dashboard
- Access the Tag Composer section of your AT Internet Dashboard
- Create a new Configuration
- Pick a name
- On the next screen, choose the "Websites" environment
- On the next screen, deselect all plugins
- On the next screen, deselect all options and create your Configuration
4. Retrieve your Collect Server from the Piano Dashboard
Collect Server from the Piano Dashboard- Access the Tag Composer section of your AT Internet Dashboard
- Open your newly created configuration
- On the next screen, click on the button to deploy your Configuration
- On the sites list, select your website and continue
- On the settings screen, retrieve and write down your Configuration's SSL Collect Server
- Pick a collect path to be used later when configuring your Piano integration in the Purchasely Console
5. Configure Piano to accept the event names you will be using
- Access the Data Models Events configuration section of your Piano Dashboard
- Create and configure your custom events
Events using any other name than Piano's default ones or the ones set up here will be ignored by Piano.
6. Enable the Piano integration in the Purchasely Console
- Go in the "Integrations" section, and open the edition form for Piano:
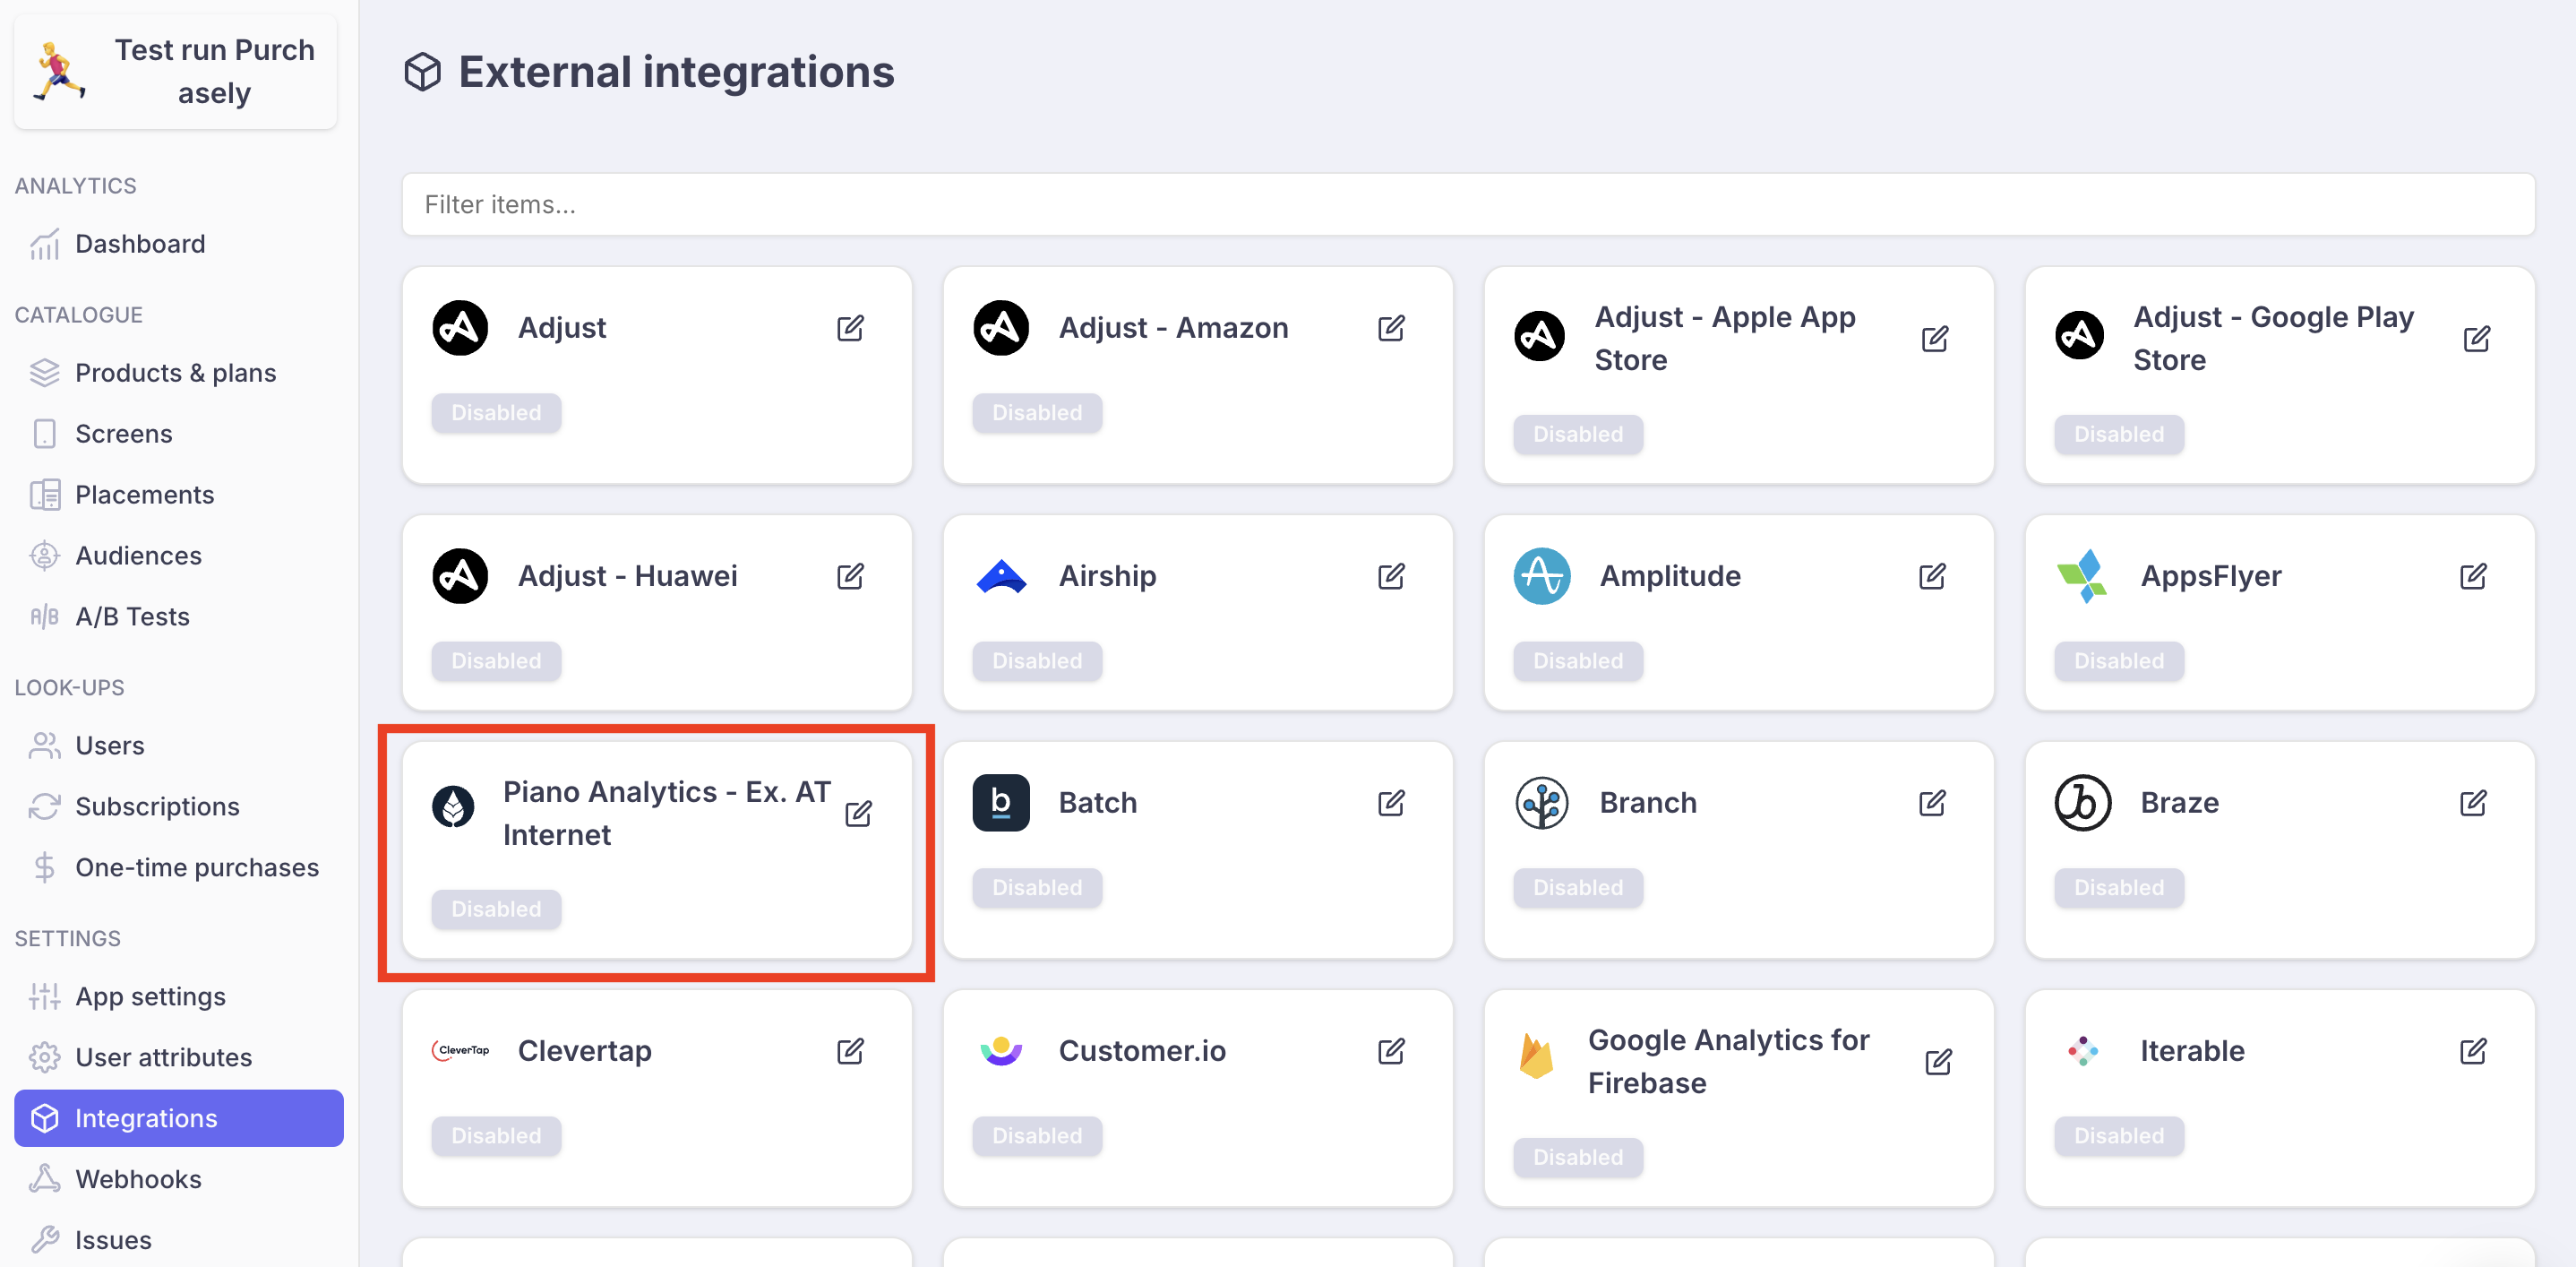
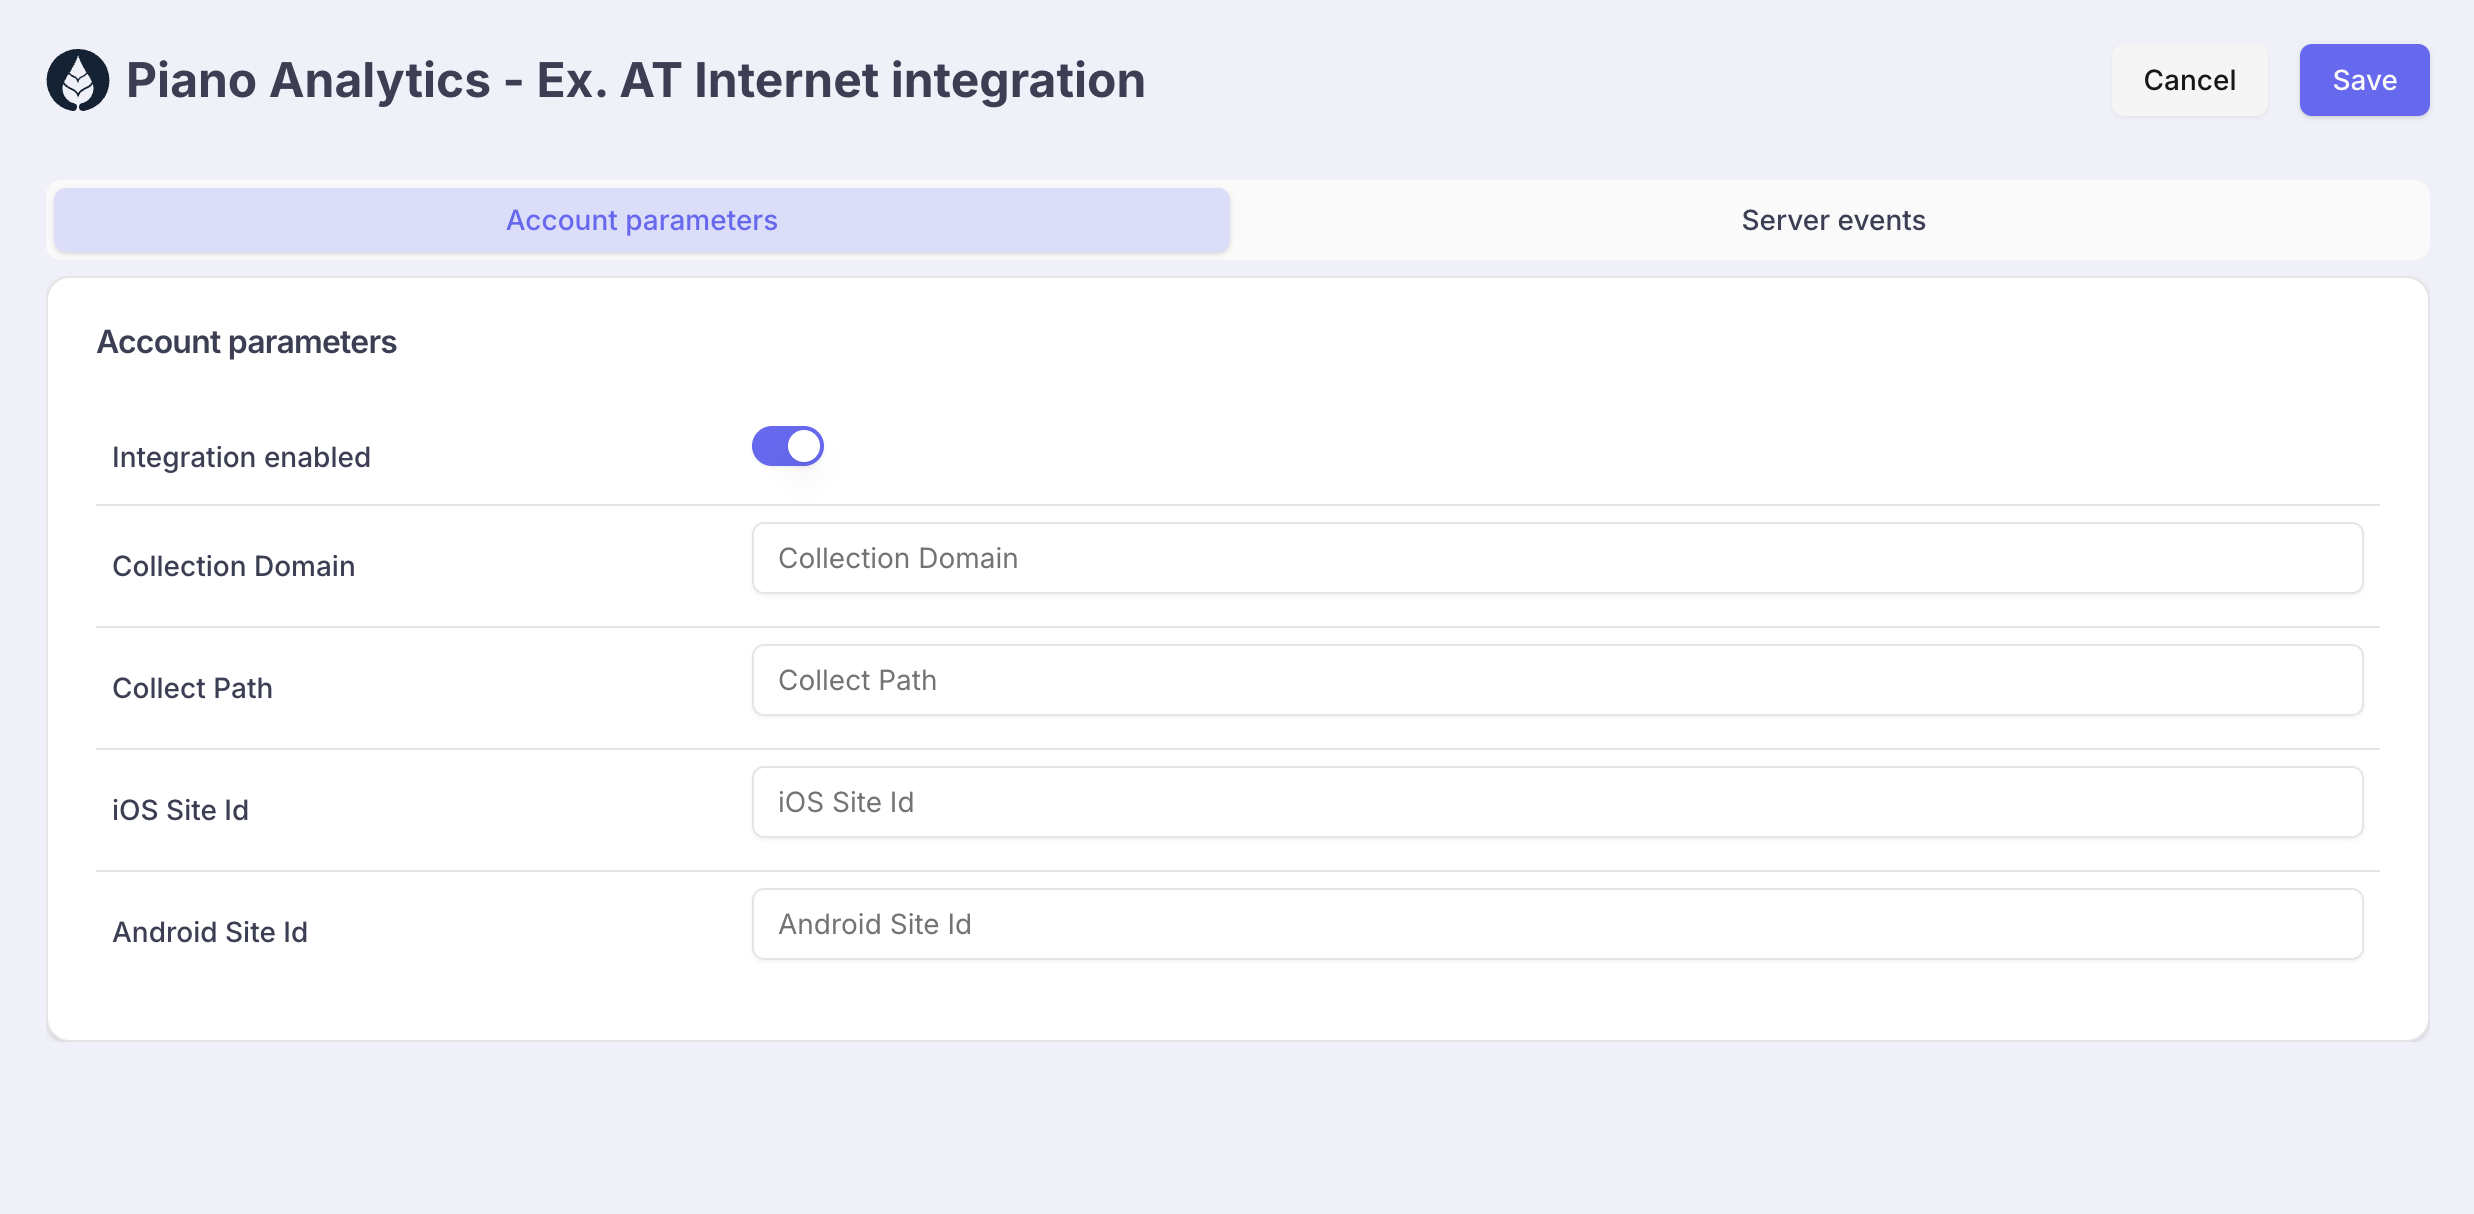
- Enable the integration
- Set your Piano
Collection Domains - Set your Piano
Collect Path - Set your Piano
Site ID - Save
Enable the forwarding of Server Events to Piano in the Purchasely Console
- Go in the tab Server events

- Activate the Server events to be forwarded to Piano Analytics
- Check that the Event names match the ones enabled in Piano Analytics during step 5.
Updated 6 months ago